.svg)


How to get $GOG onto Immutable zkEVM
So you want to get some $GOG tokens into your Immutable zkEVM Passport. Here is what you will need:
- Immutable Passport (sign-up here)
- USDC, ETH or IMX in your Immutable Passport on zkEVM (tutorial on how to do this)
With the above completed, there are 4 options that exist within the ecosystem for getting $GOG on Immutable zkEVM:
- Swap USDC, ETH or IMX for GOG using the third party Swap functionality (Quickswap) accessible via Immutable Dashboard or Immutable Toolkit (Not available in US or Australia)
- Swap USDC, ETH or IMX for GOG using Warpgate
- Swap USDC, ETH or IMX for GOG using Quickswap (Not available in US or Australia)
- Use Layerswap in Immutable Toolkit to move GOG from a Centralised Exchange to your Immutable Passport (Coming soon!)
The following is a step-by-step guide to do the above. Note that this guide assumes you already have an Immutable Passport. If you don't have one yet, follow the steps below.
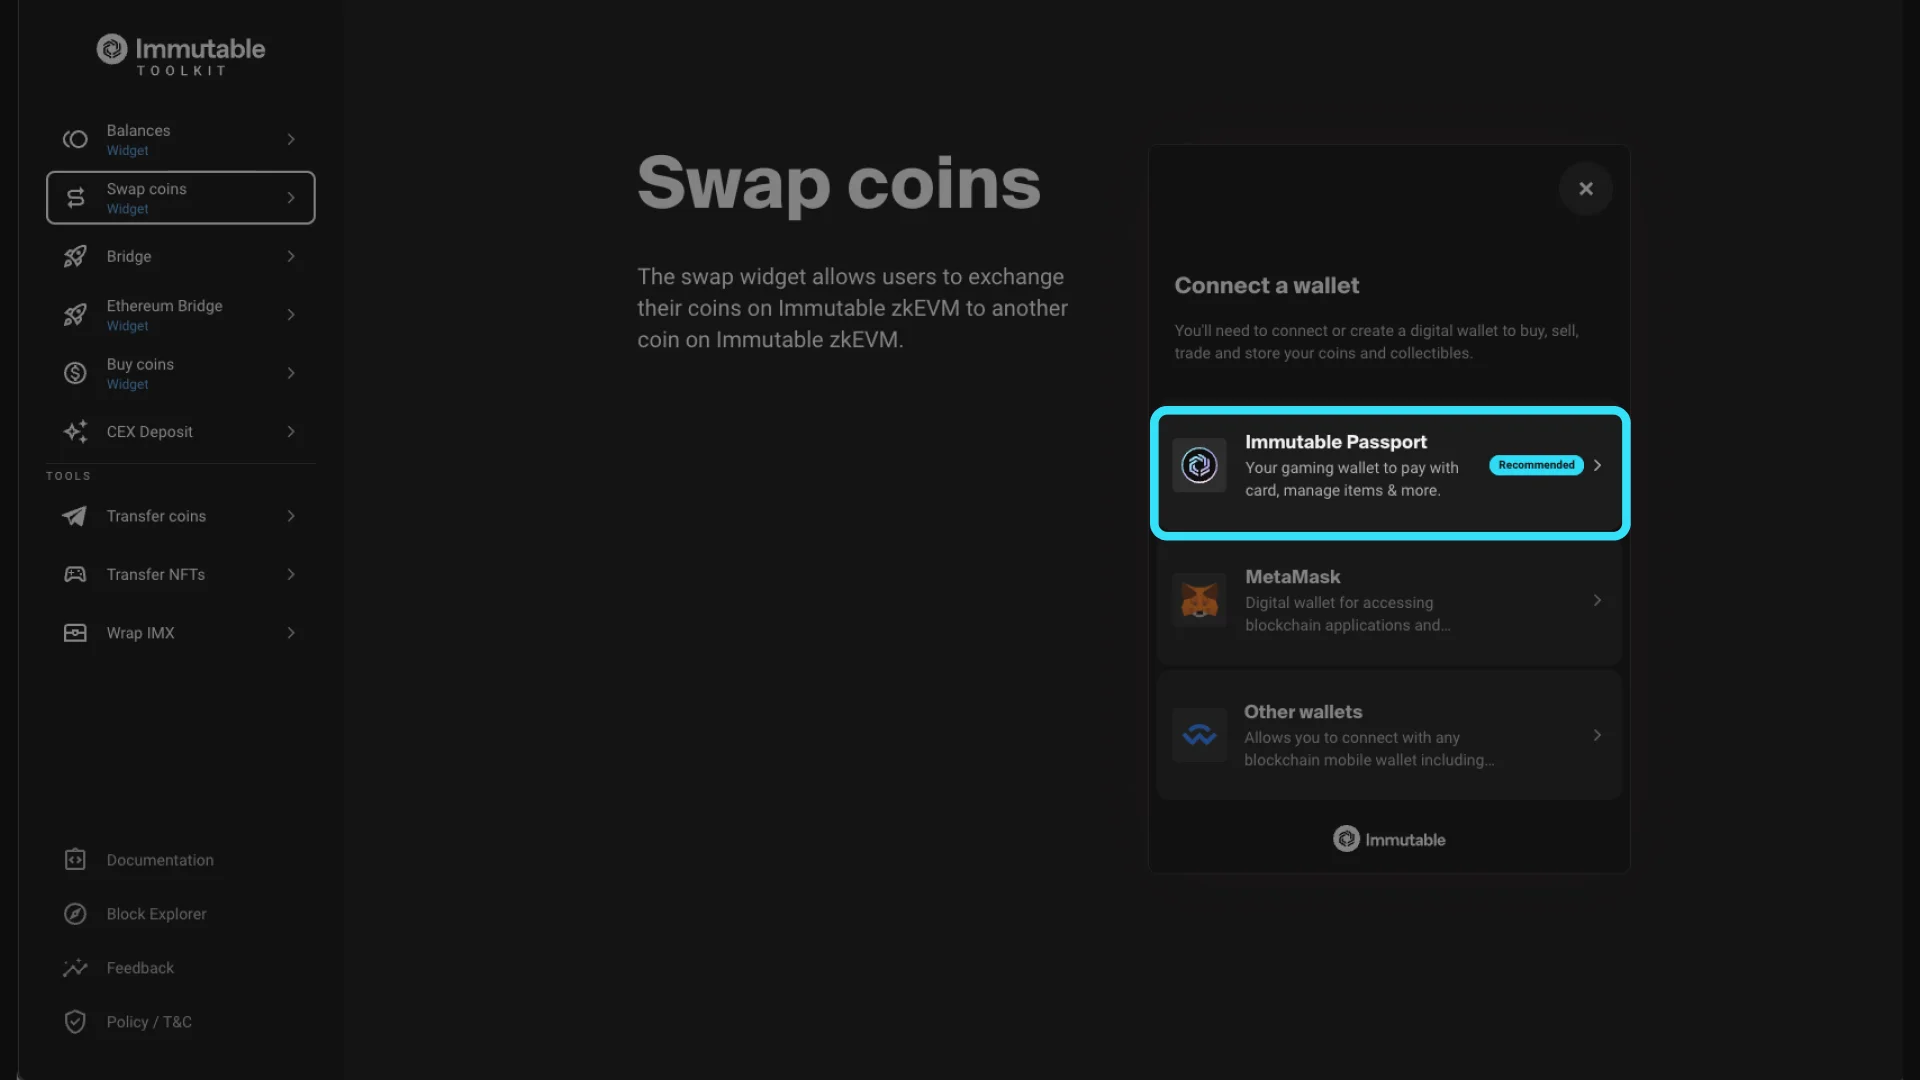
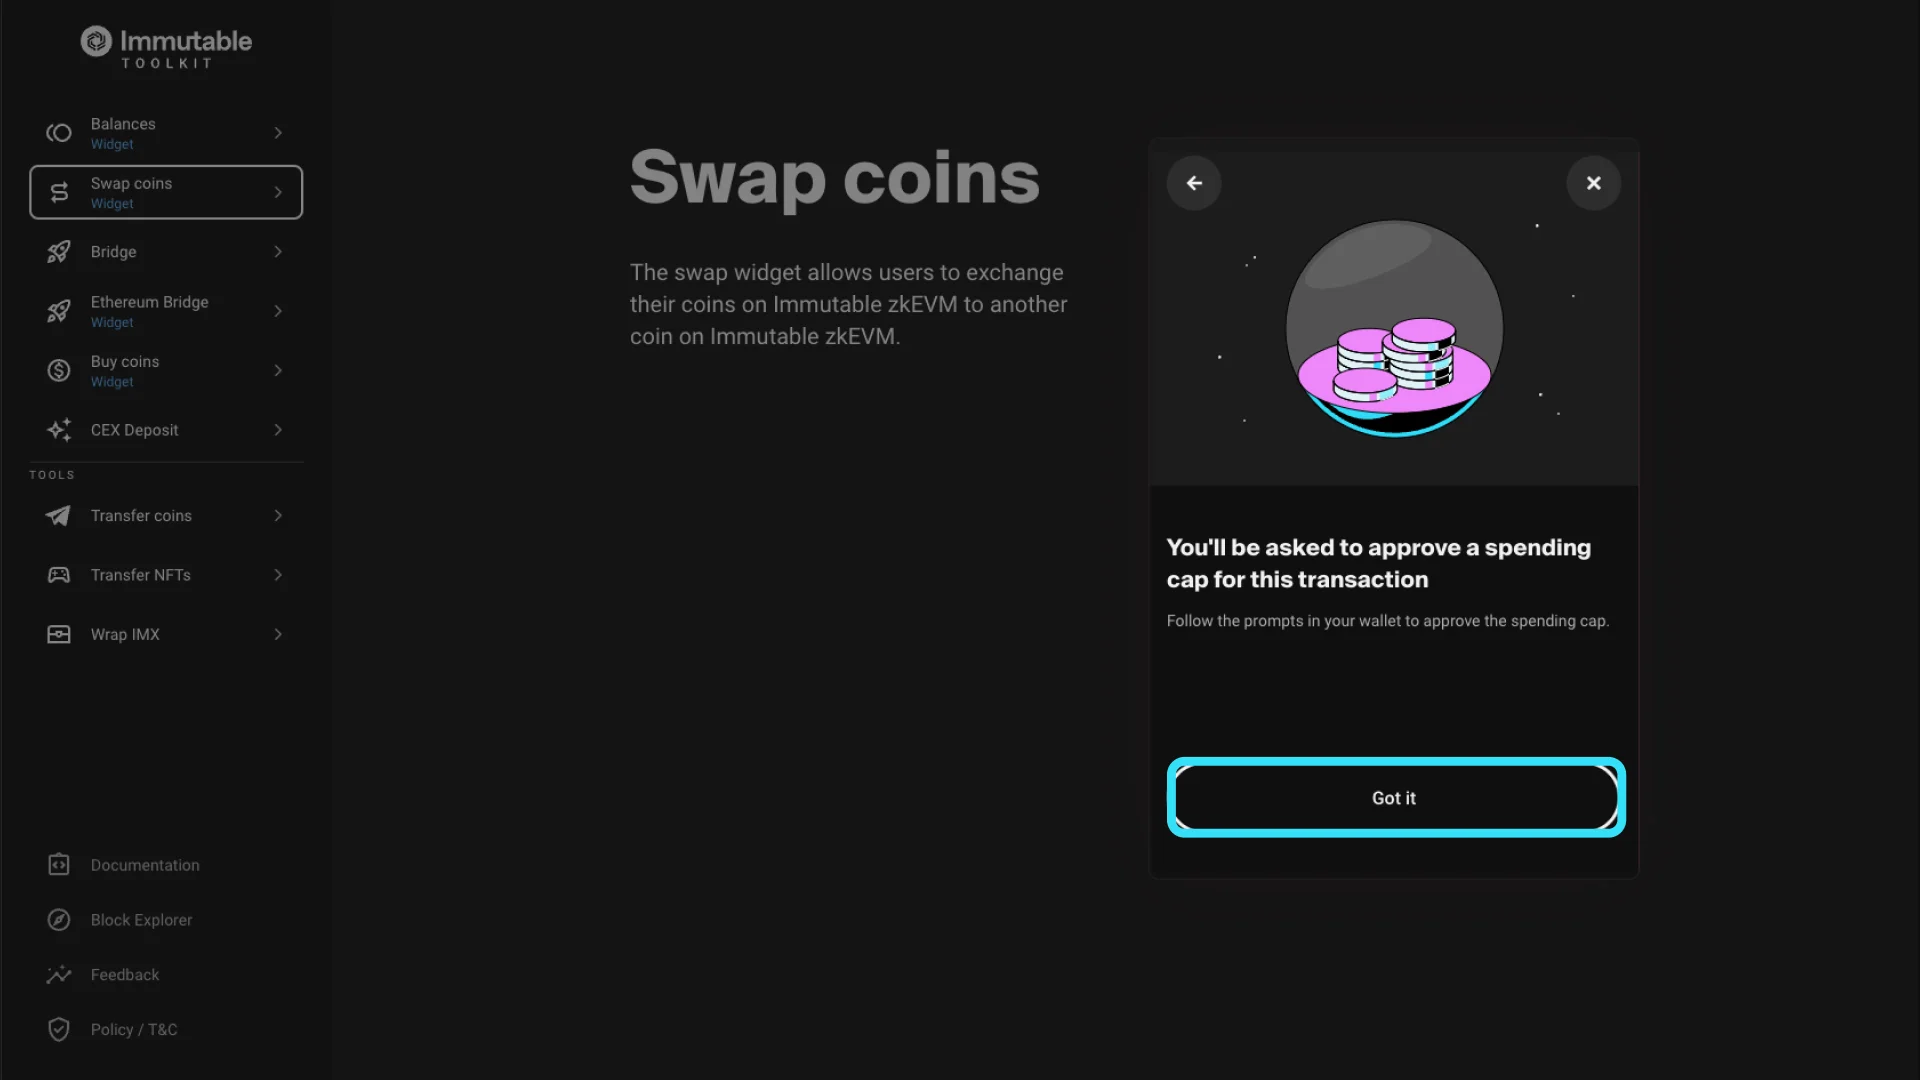
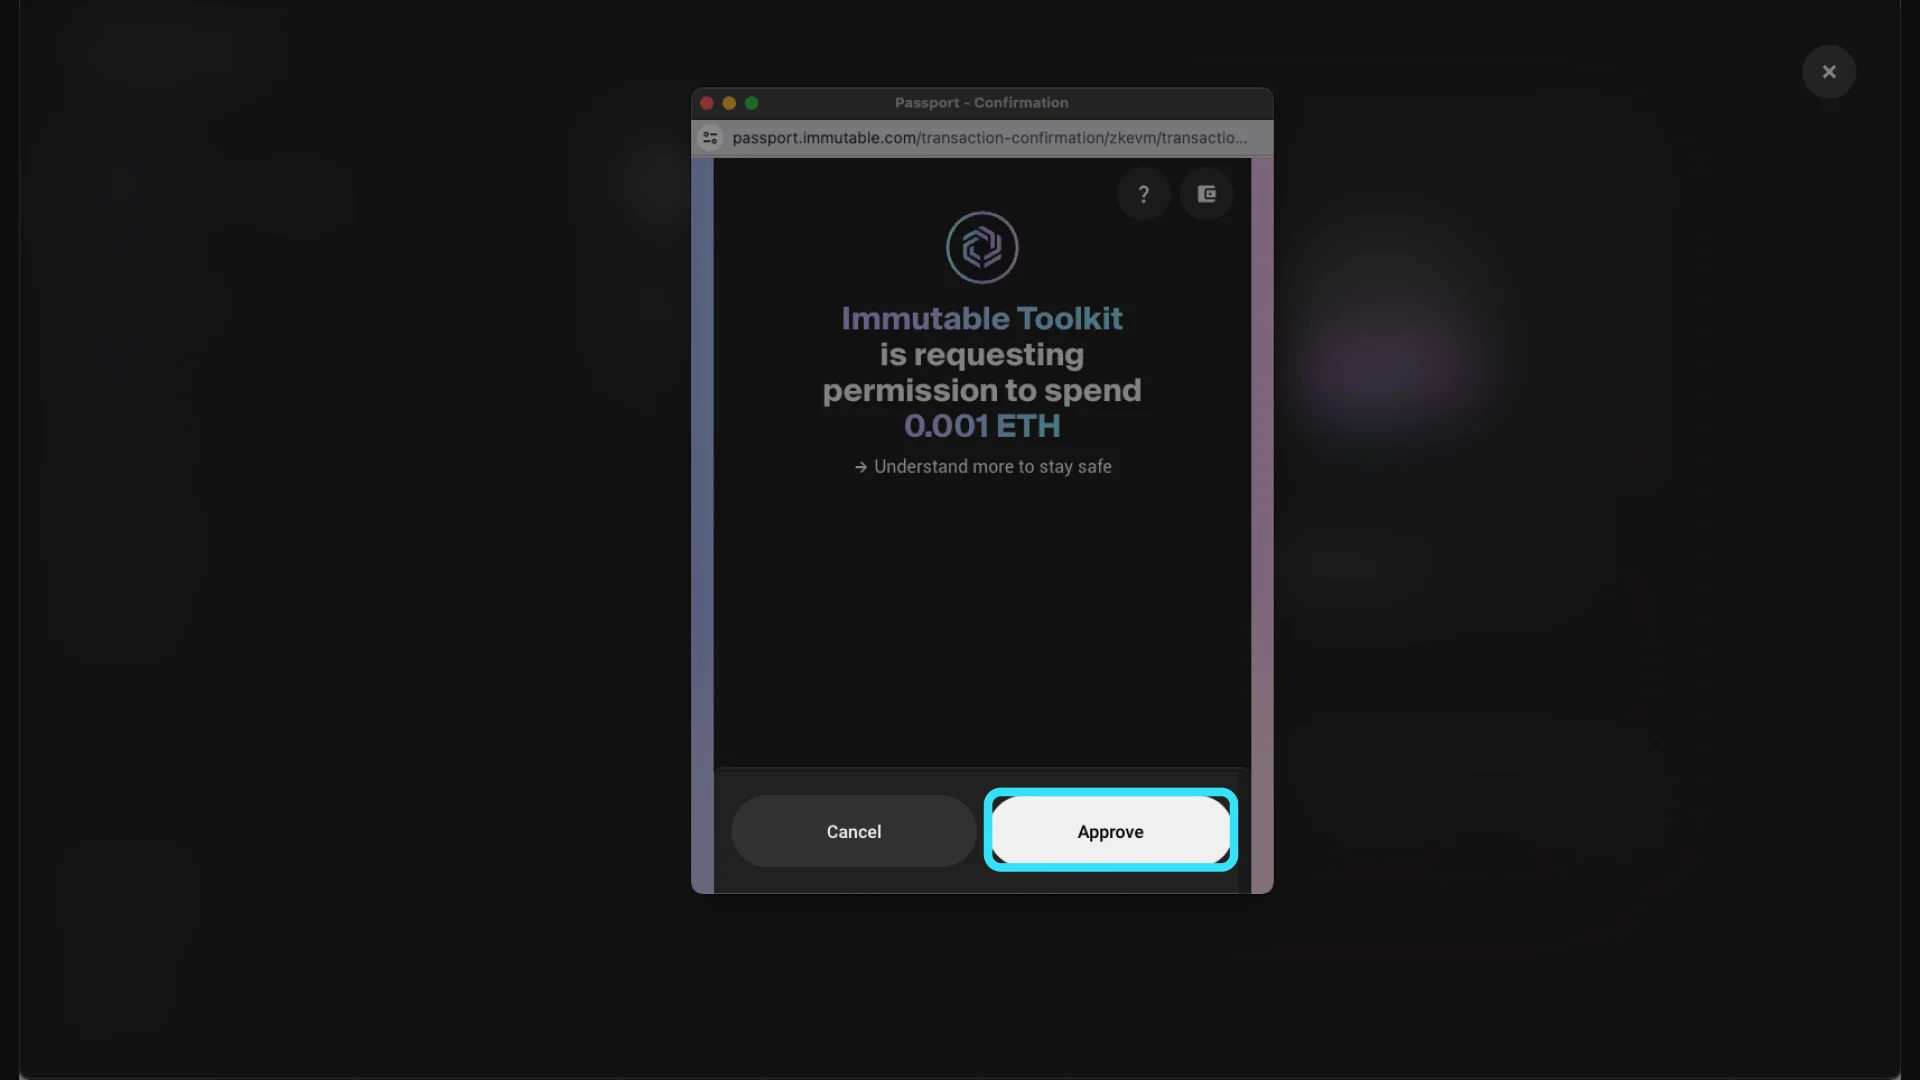
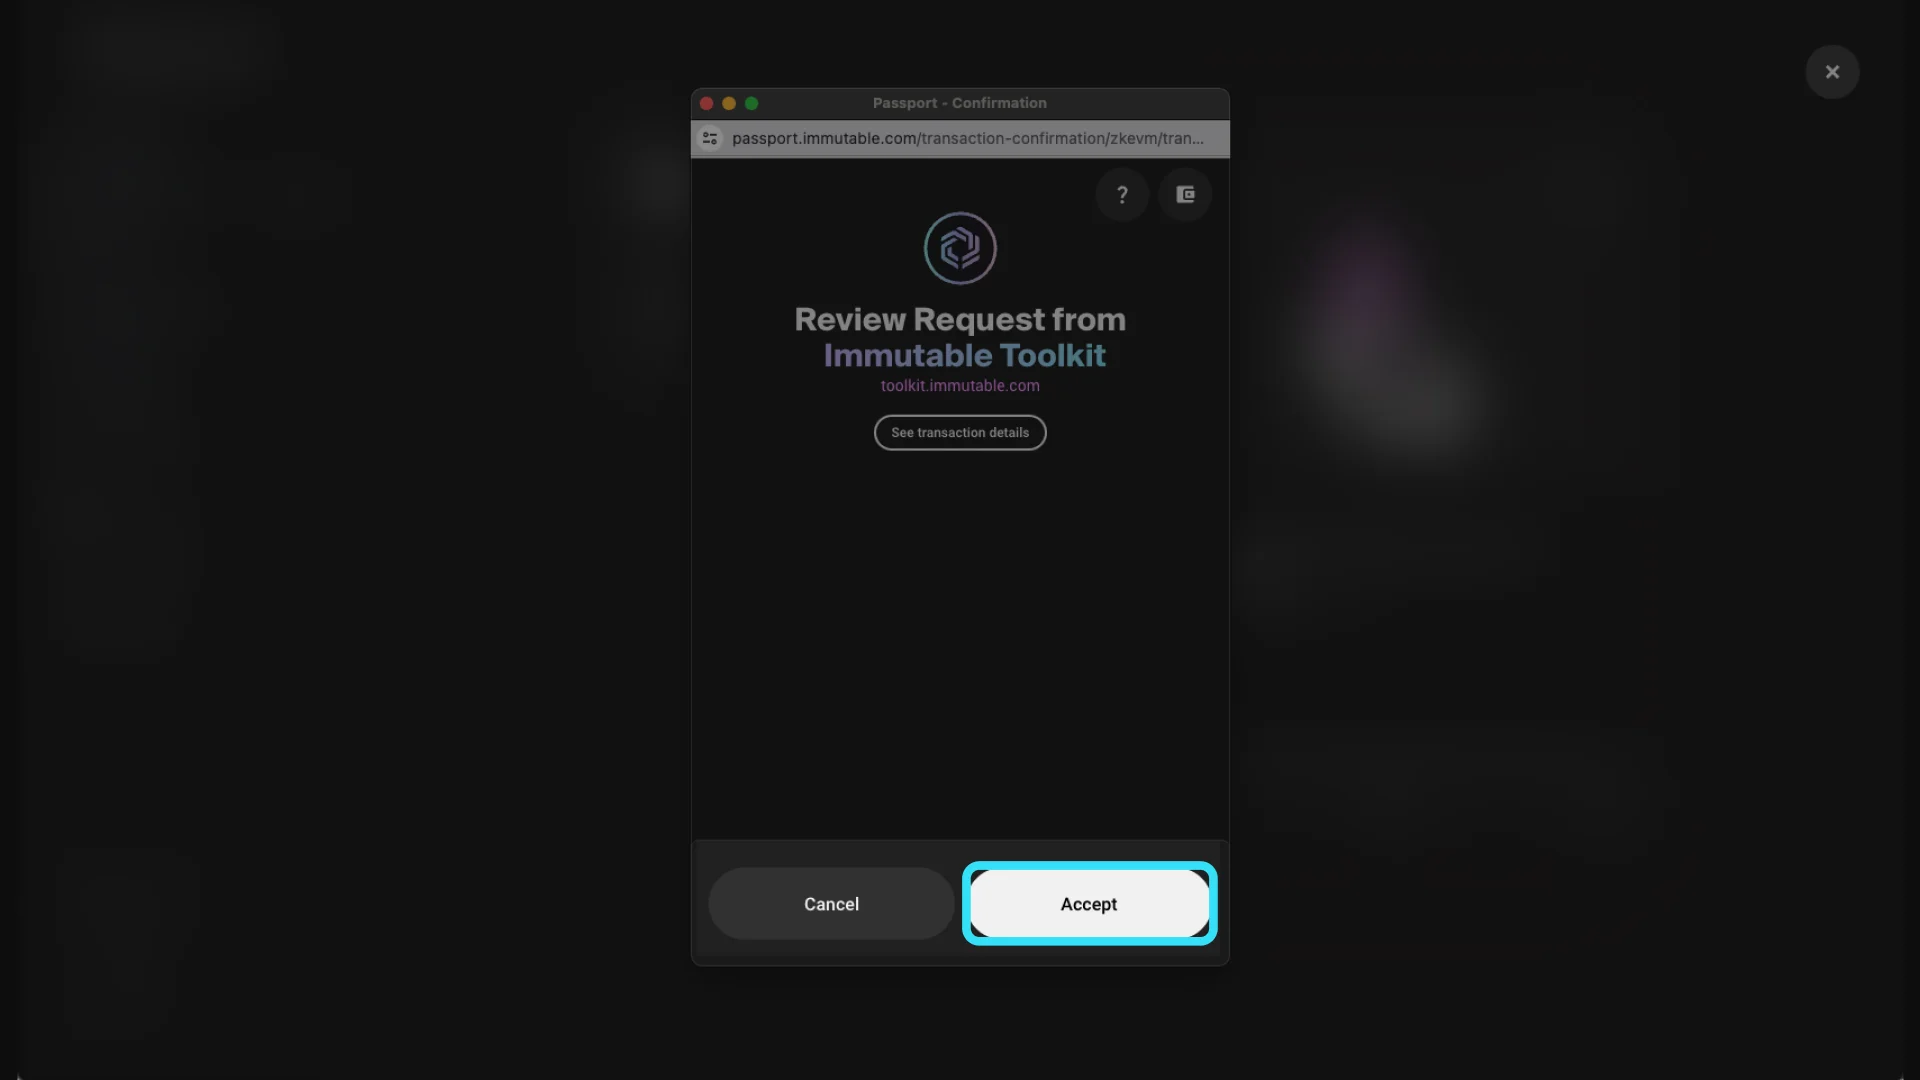
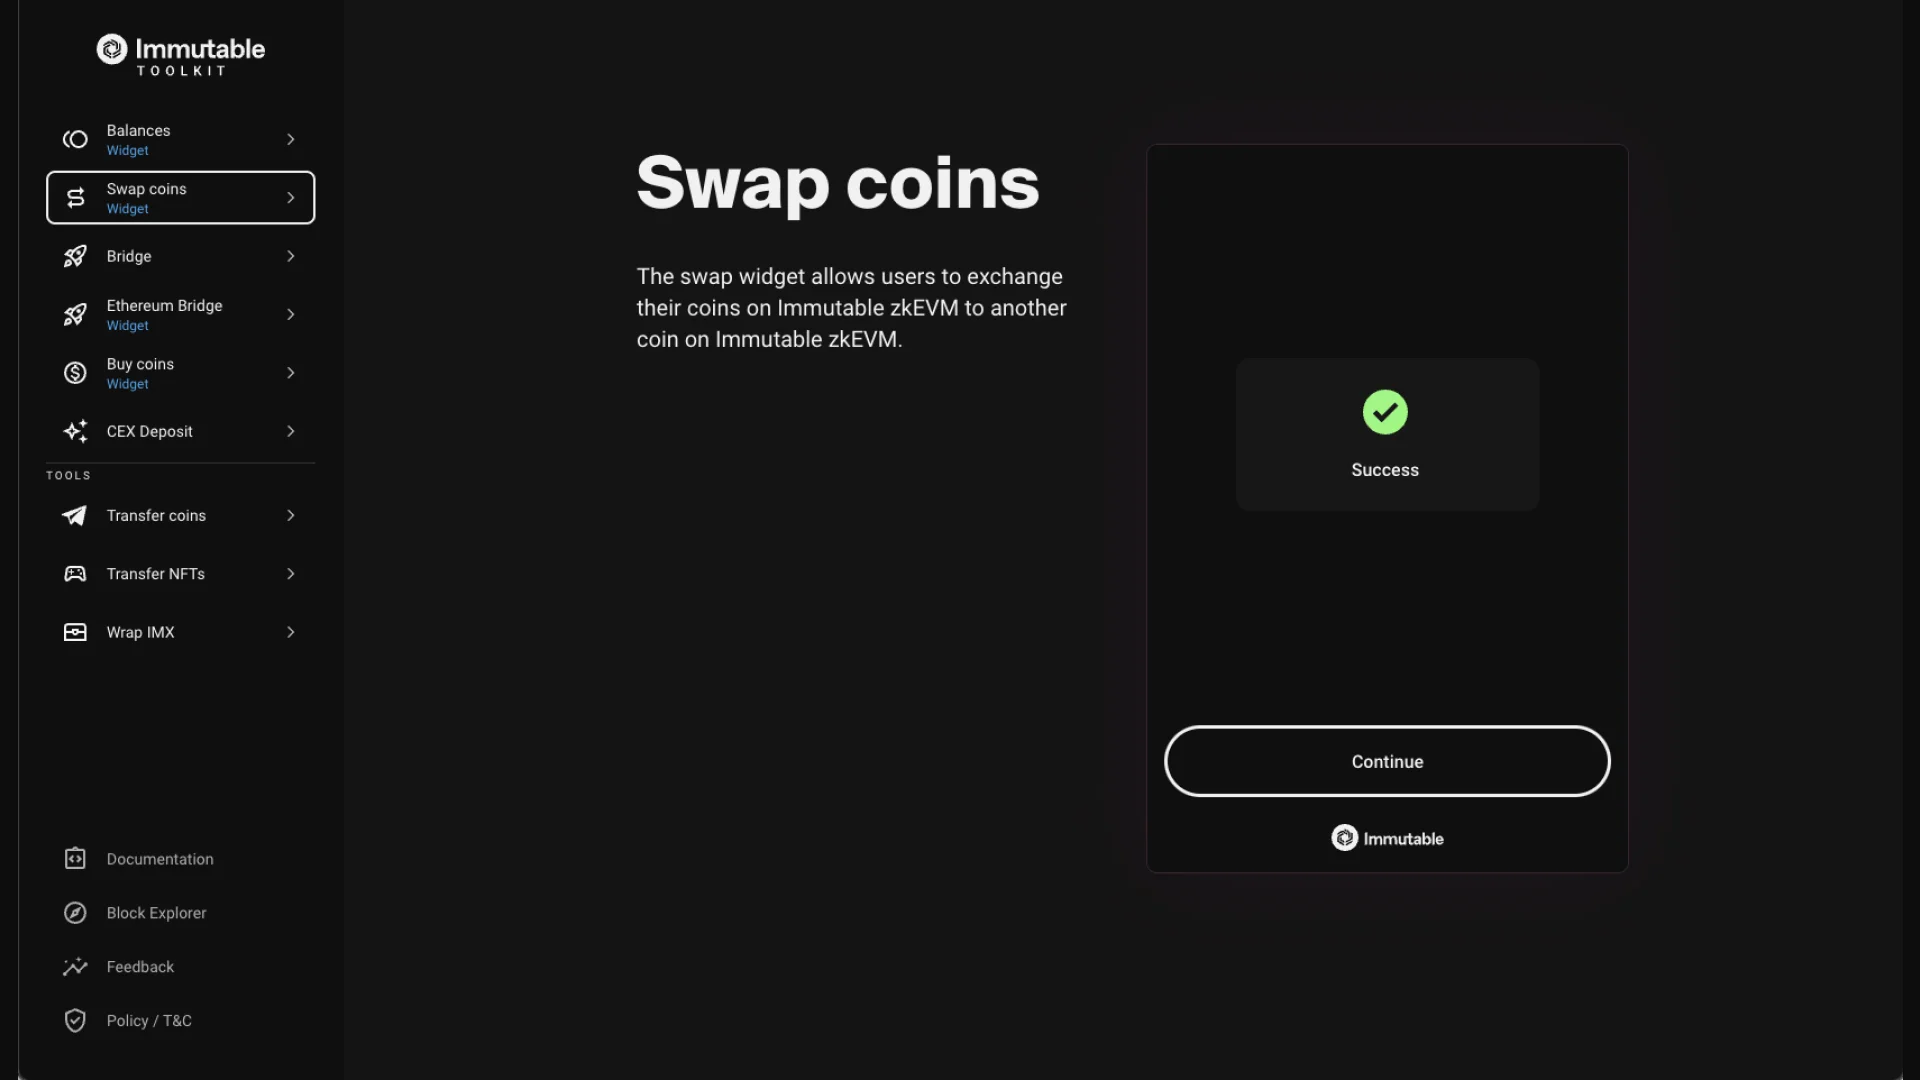
Option 1: Swap USDC, ETH or IMX for GOG using the Immutable Toolkit
Step 1:
- Go to Immutable Toolkit and connect your Immutable Passport
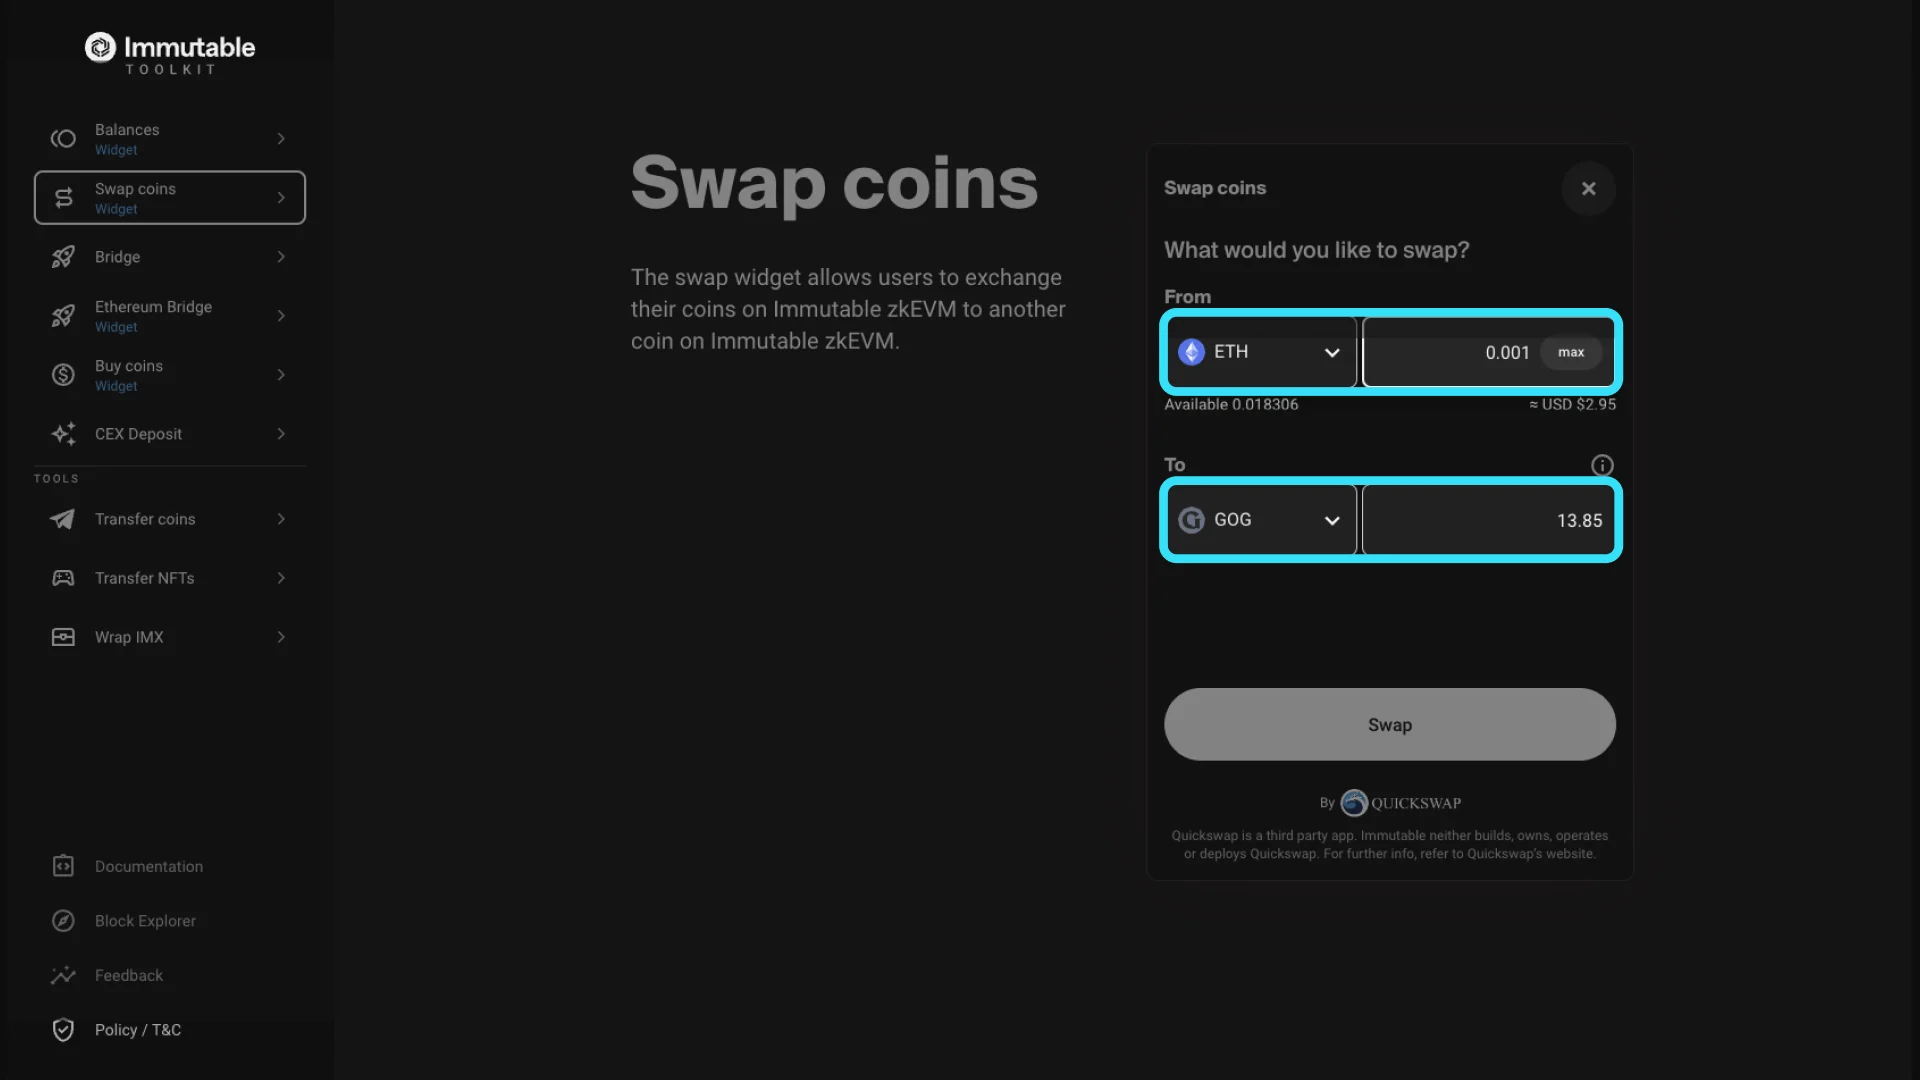
Step 2:
- Select which token, ETH, USDC or IMX, that you would like to swap from
- Select $GOG as the token you receive
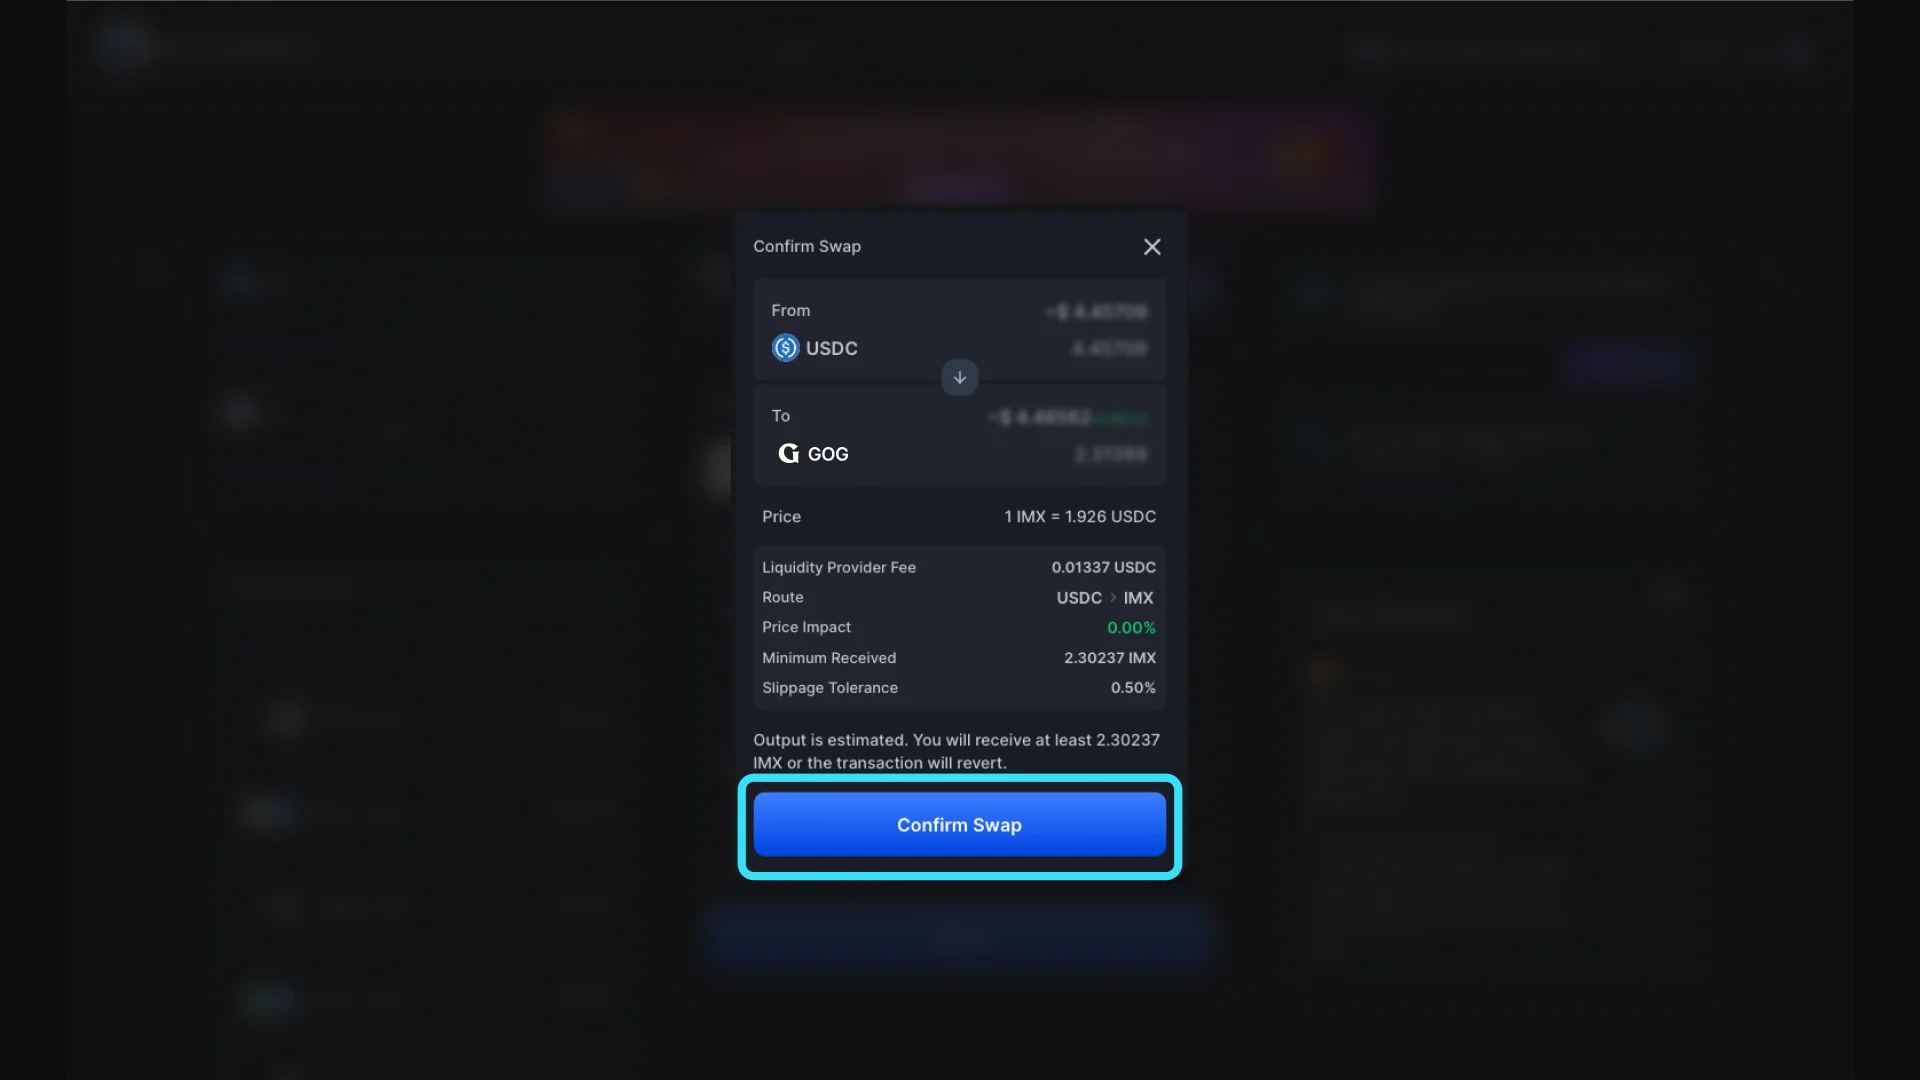
- Enter the amount you want to swap and click swap
Step 3:
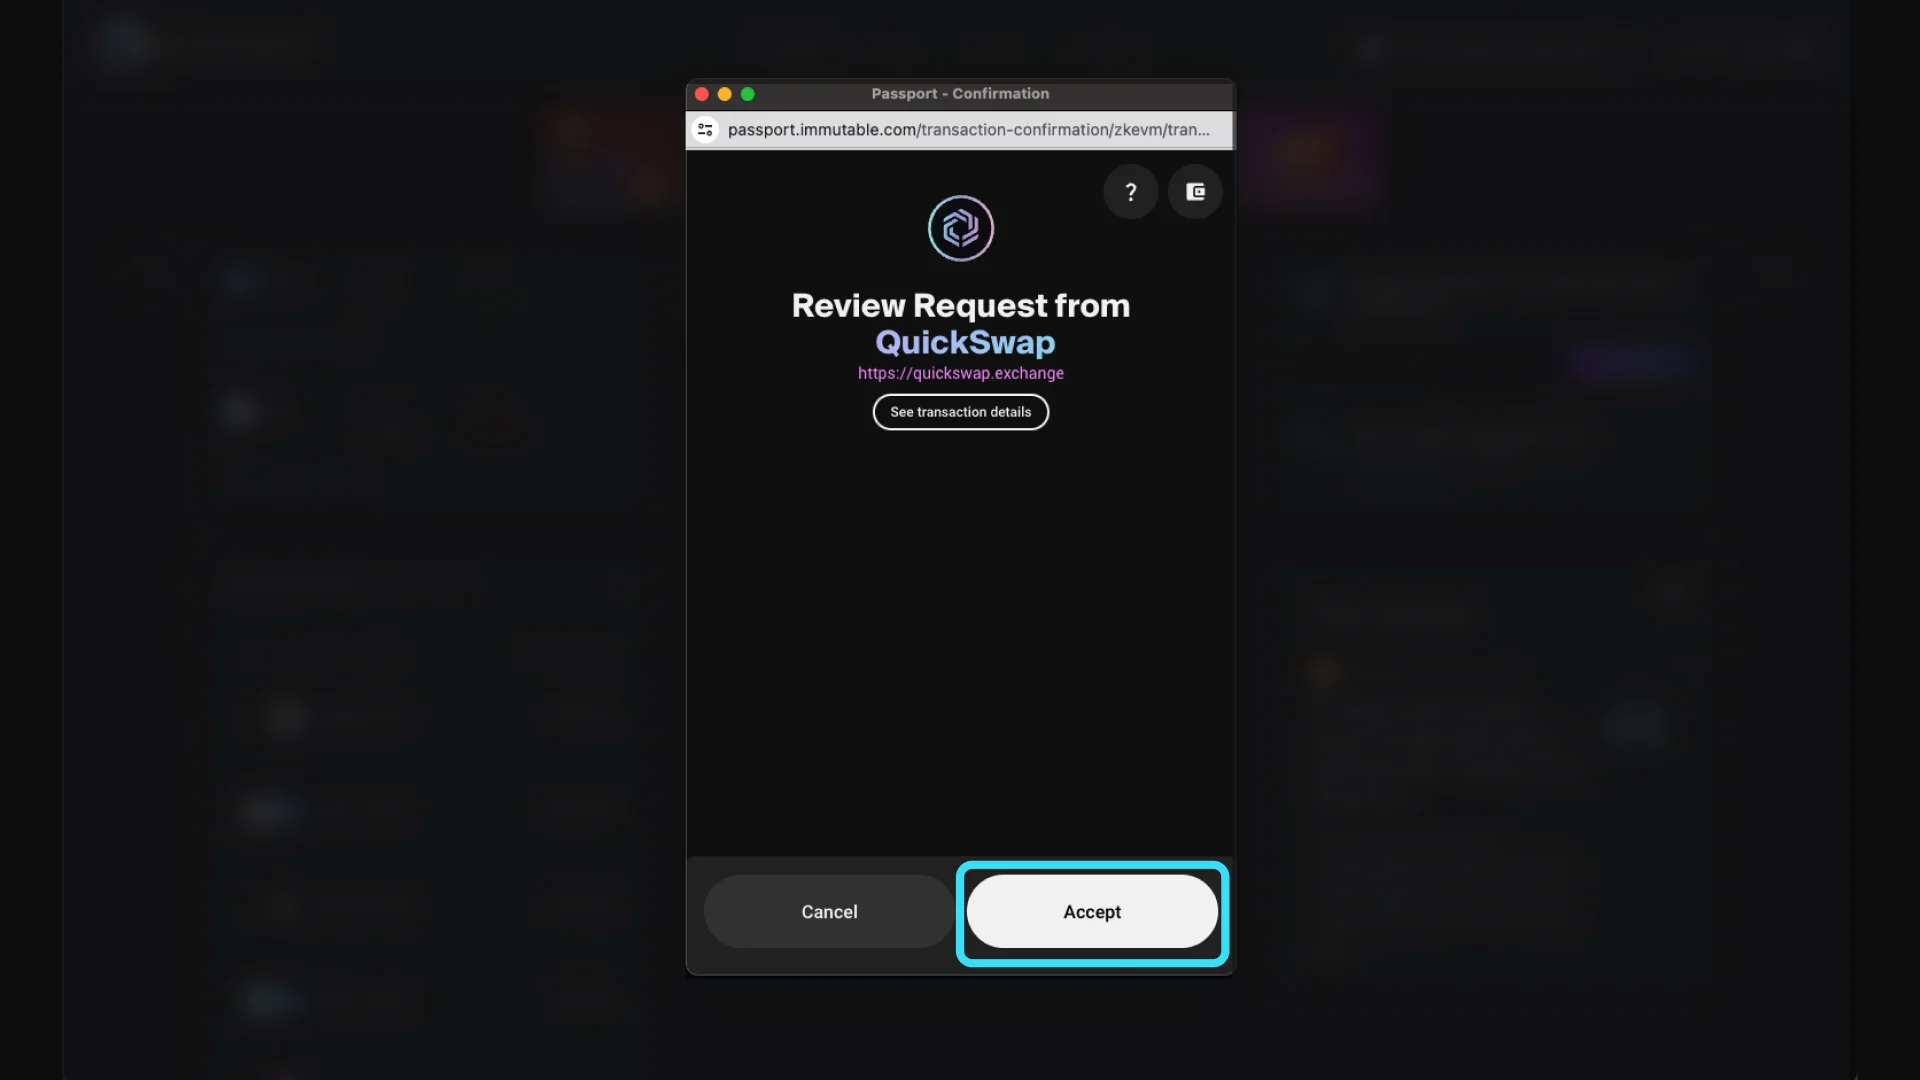
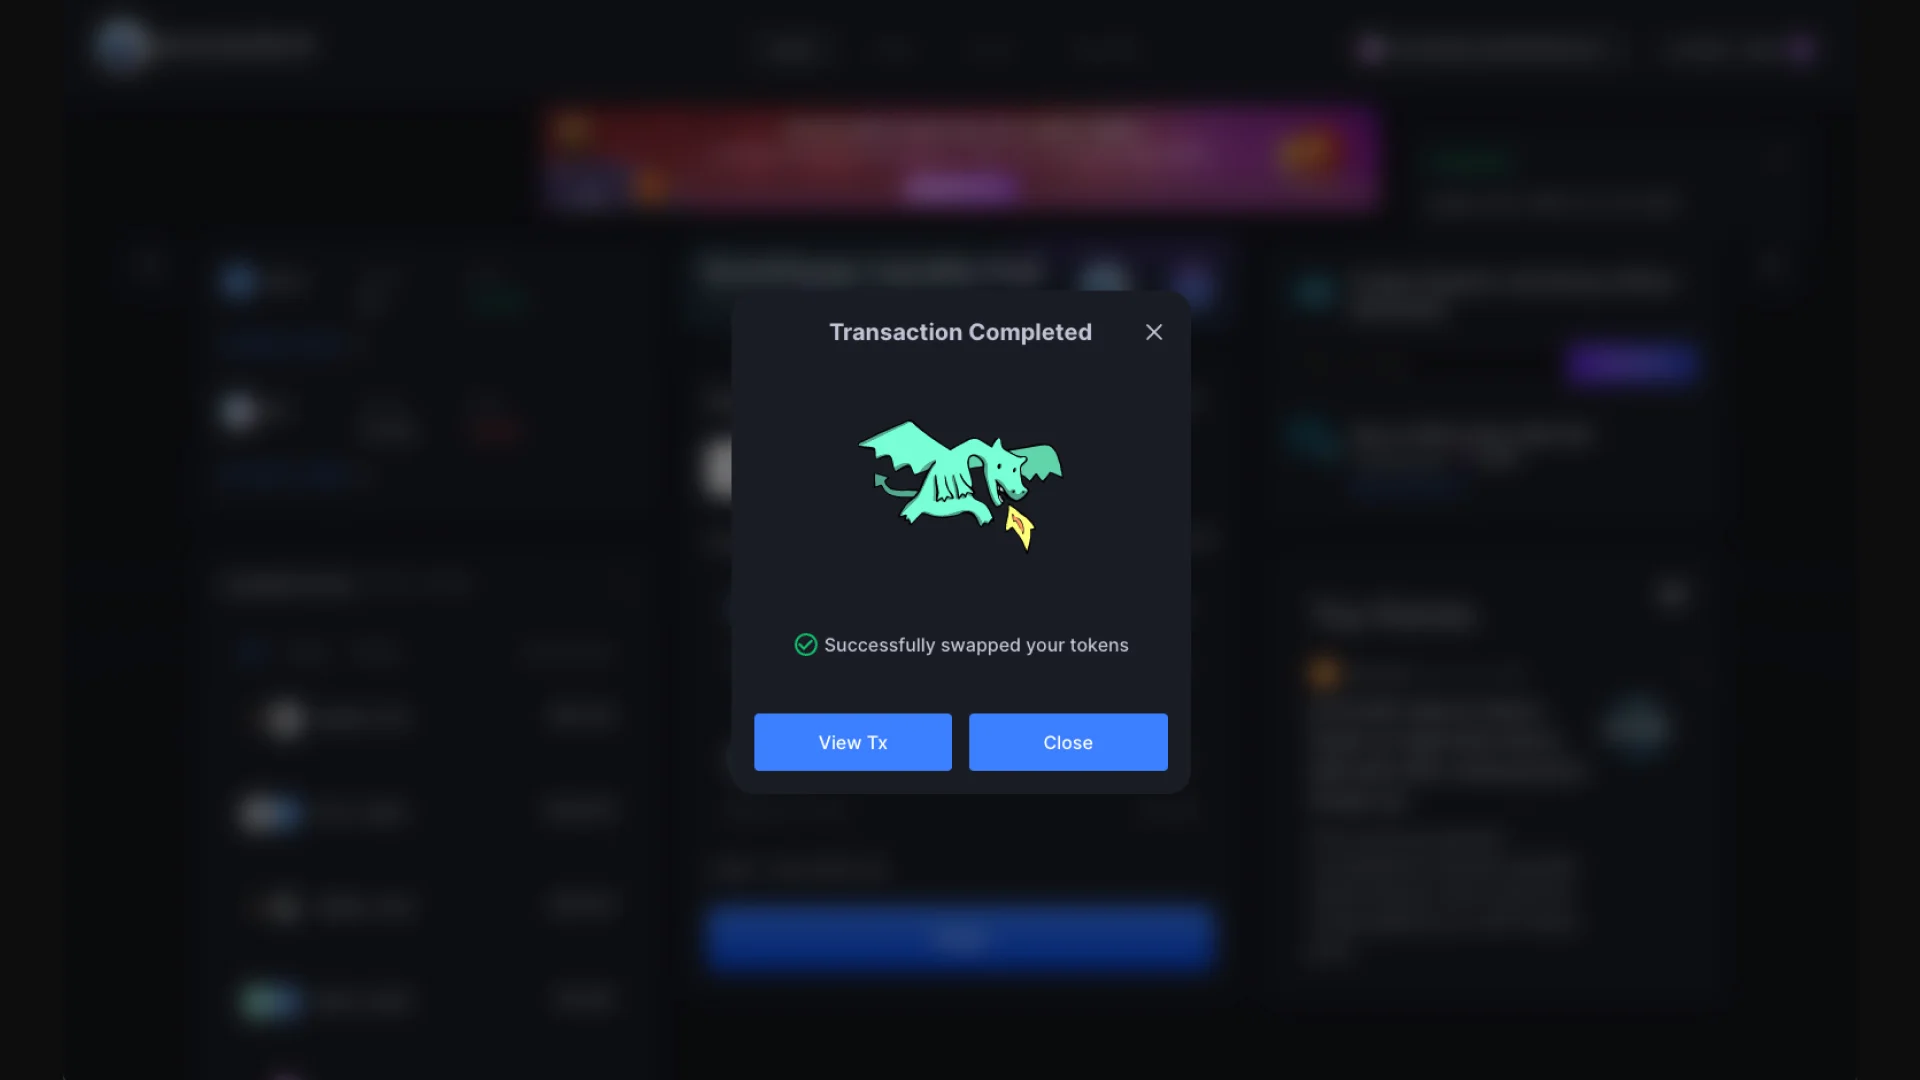
- Click Swap and sign the transaction in your wallet
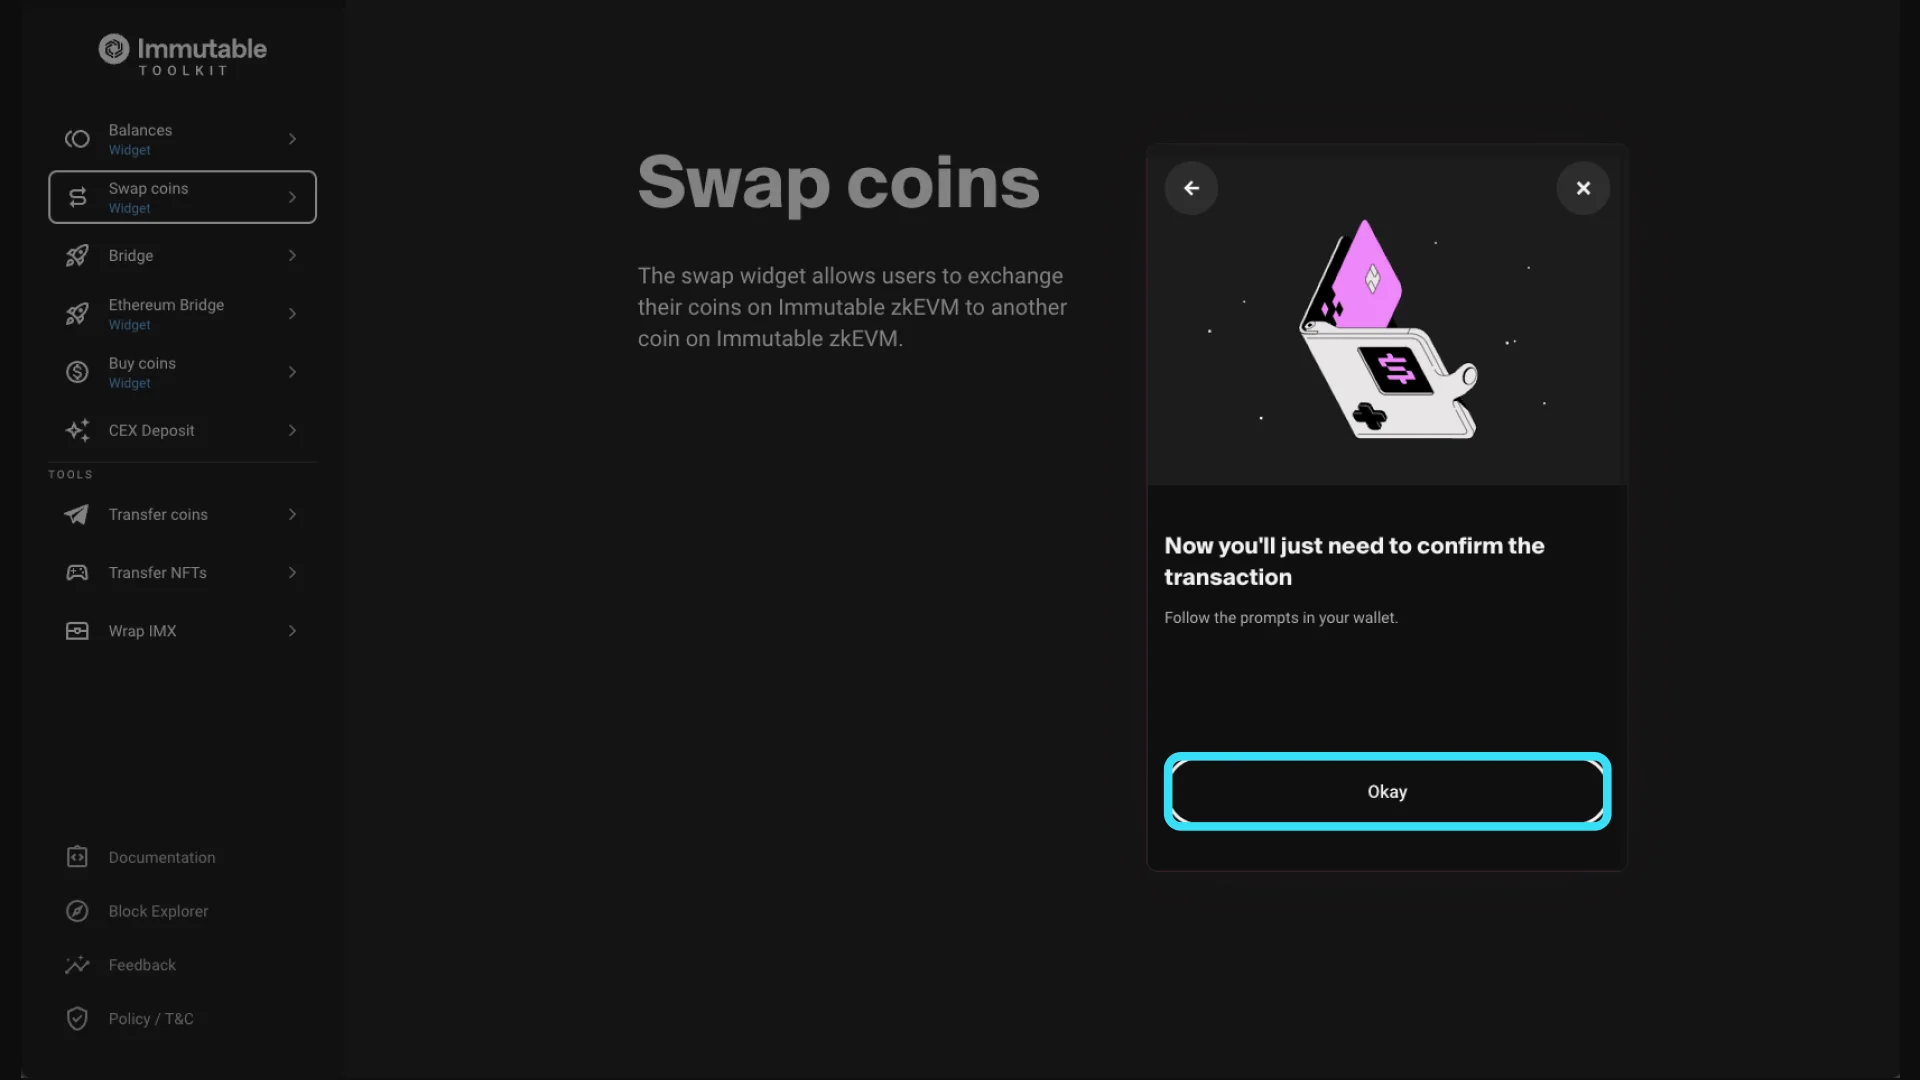
Congratulations! You now have $GOG in your Immutable Passport
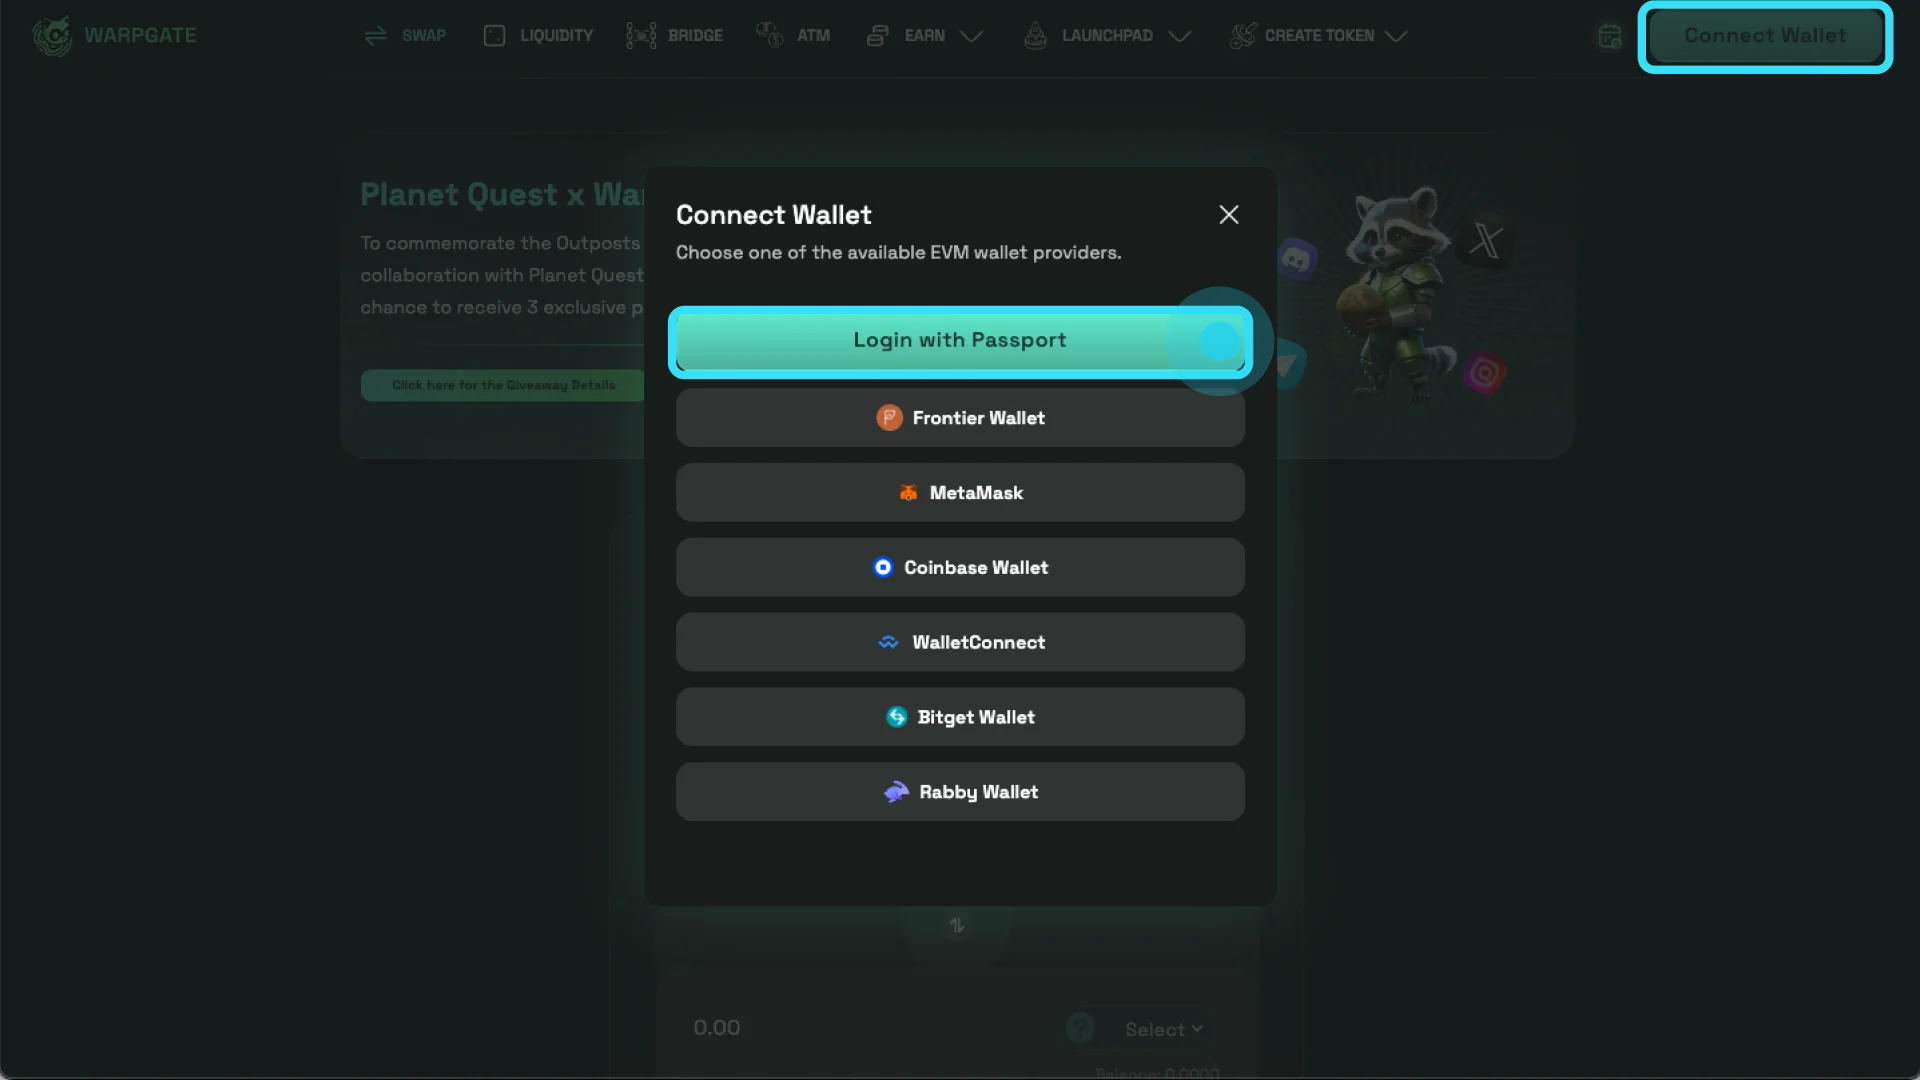
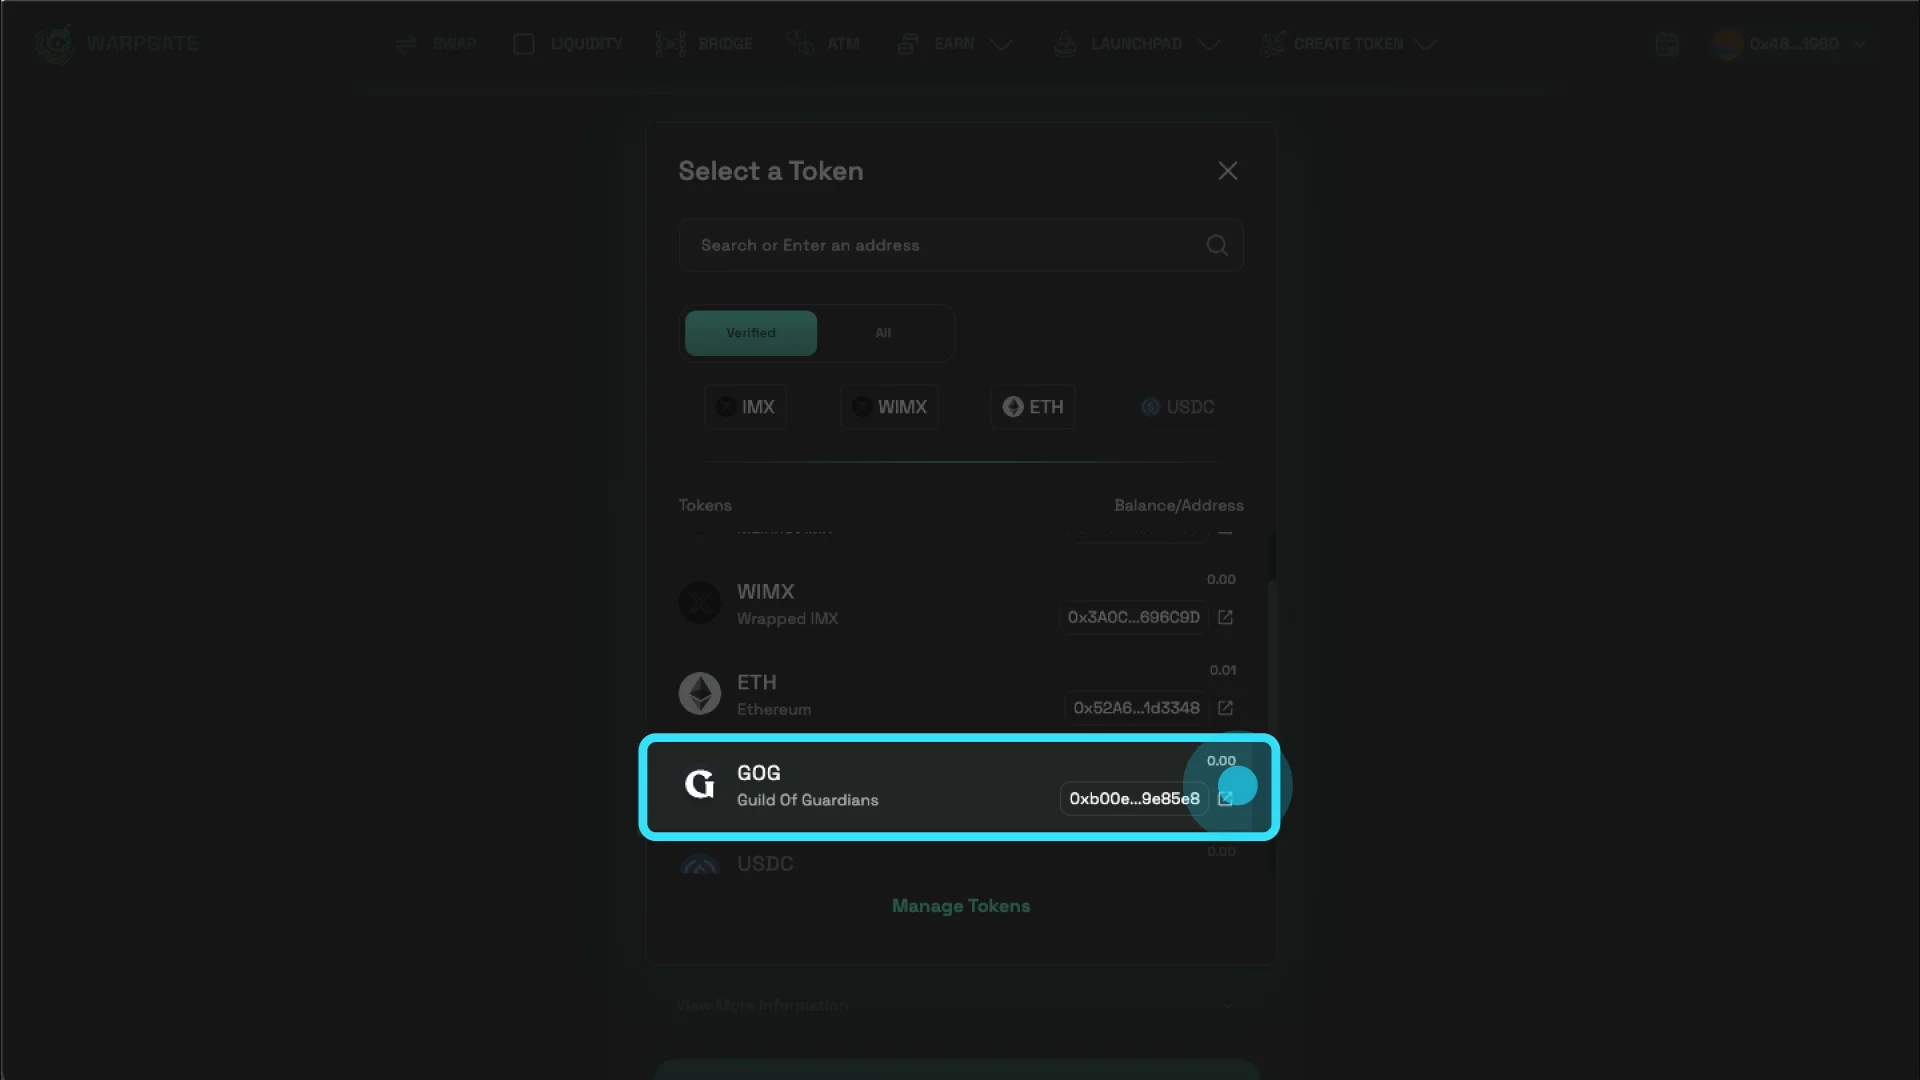
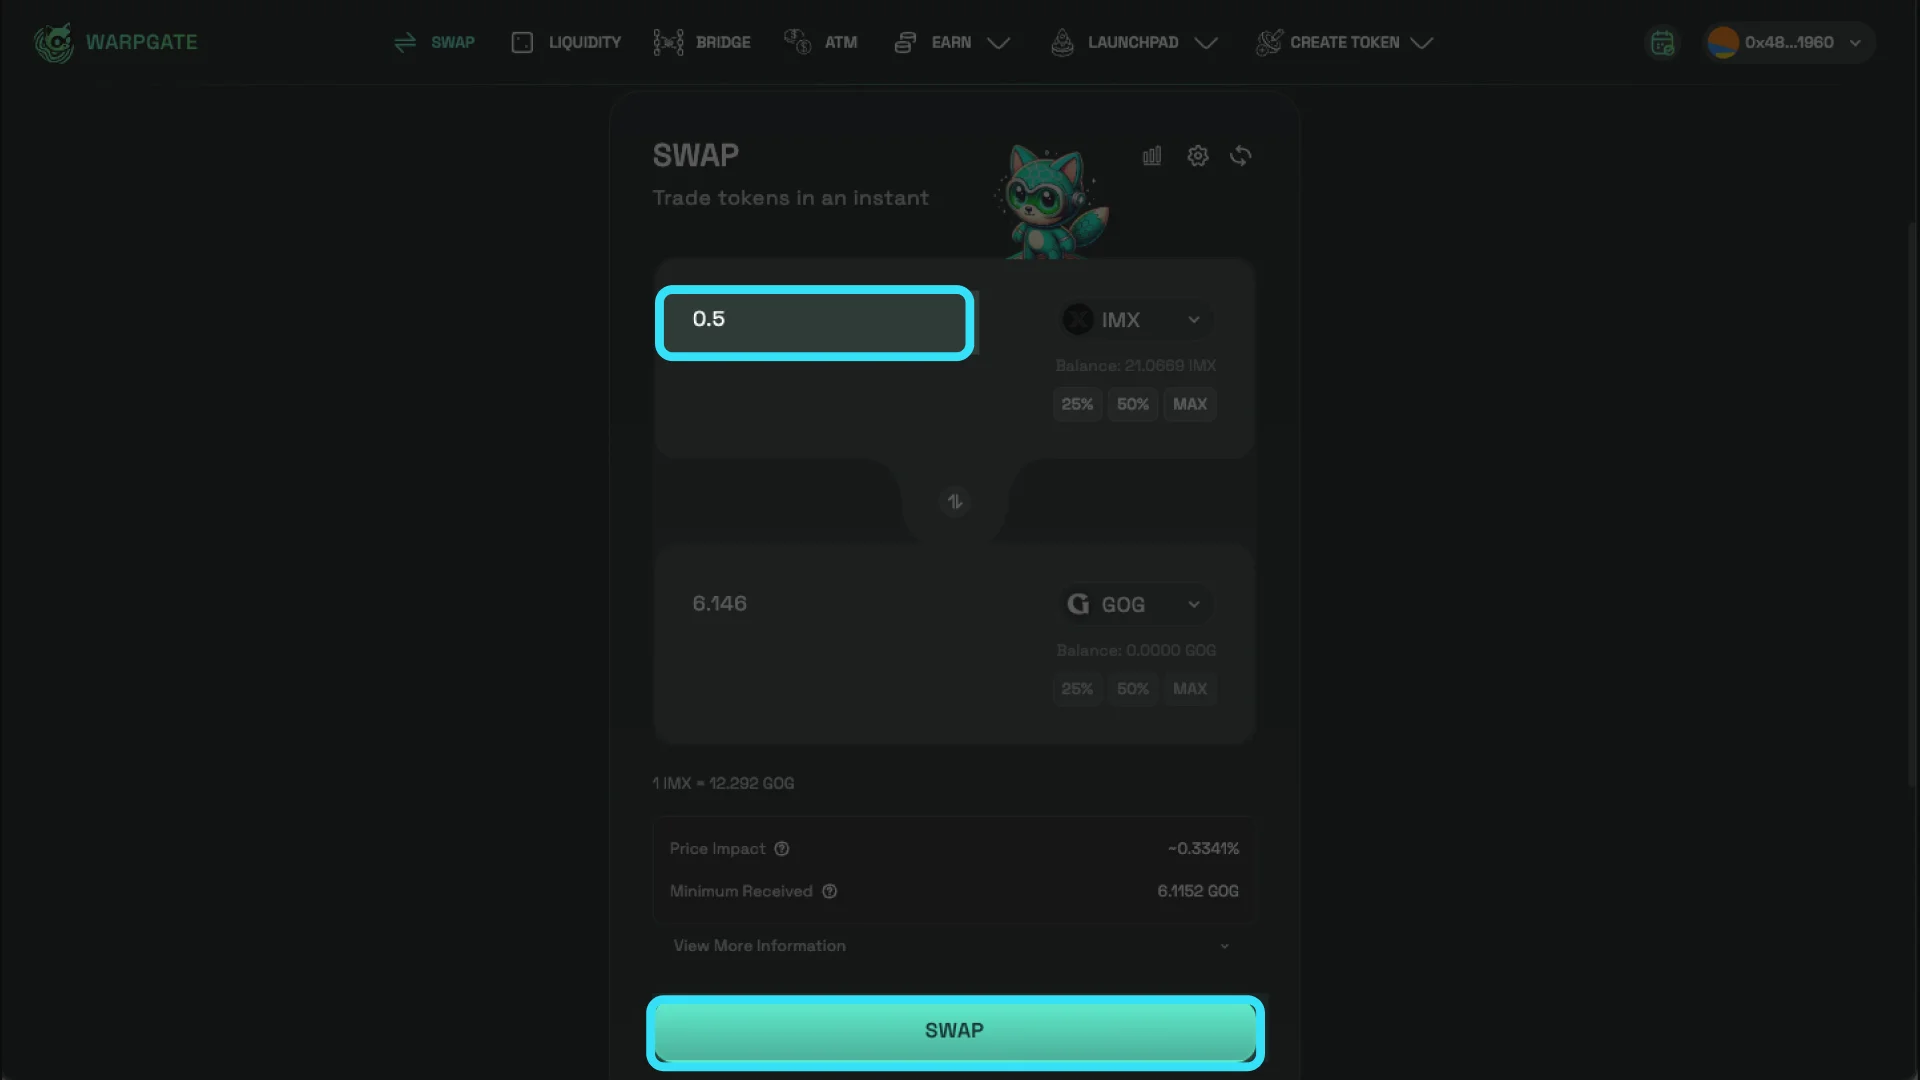
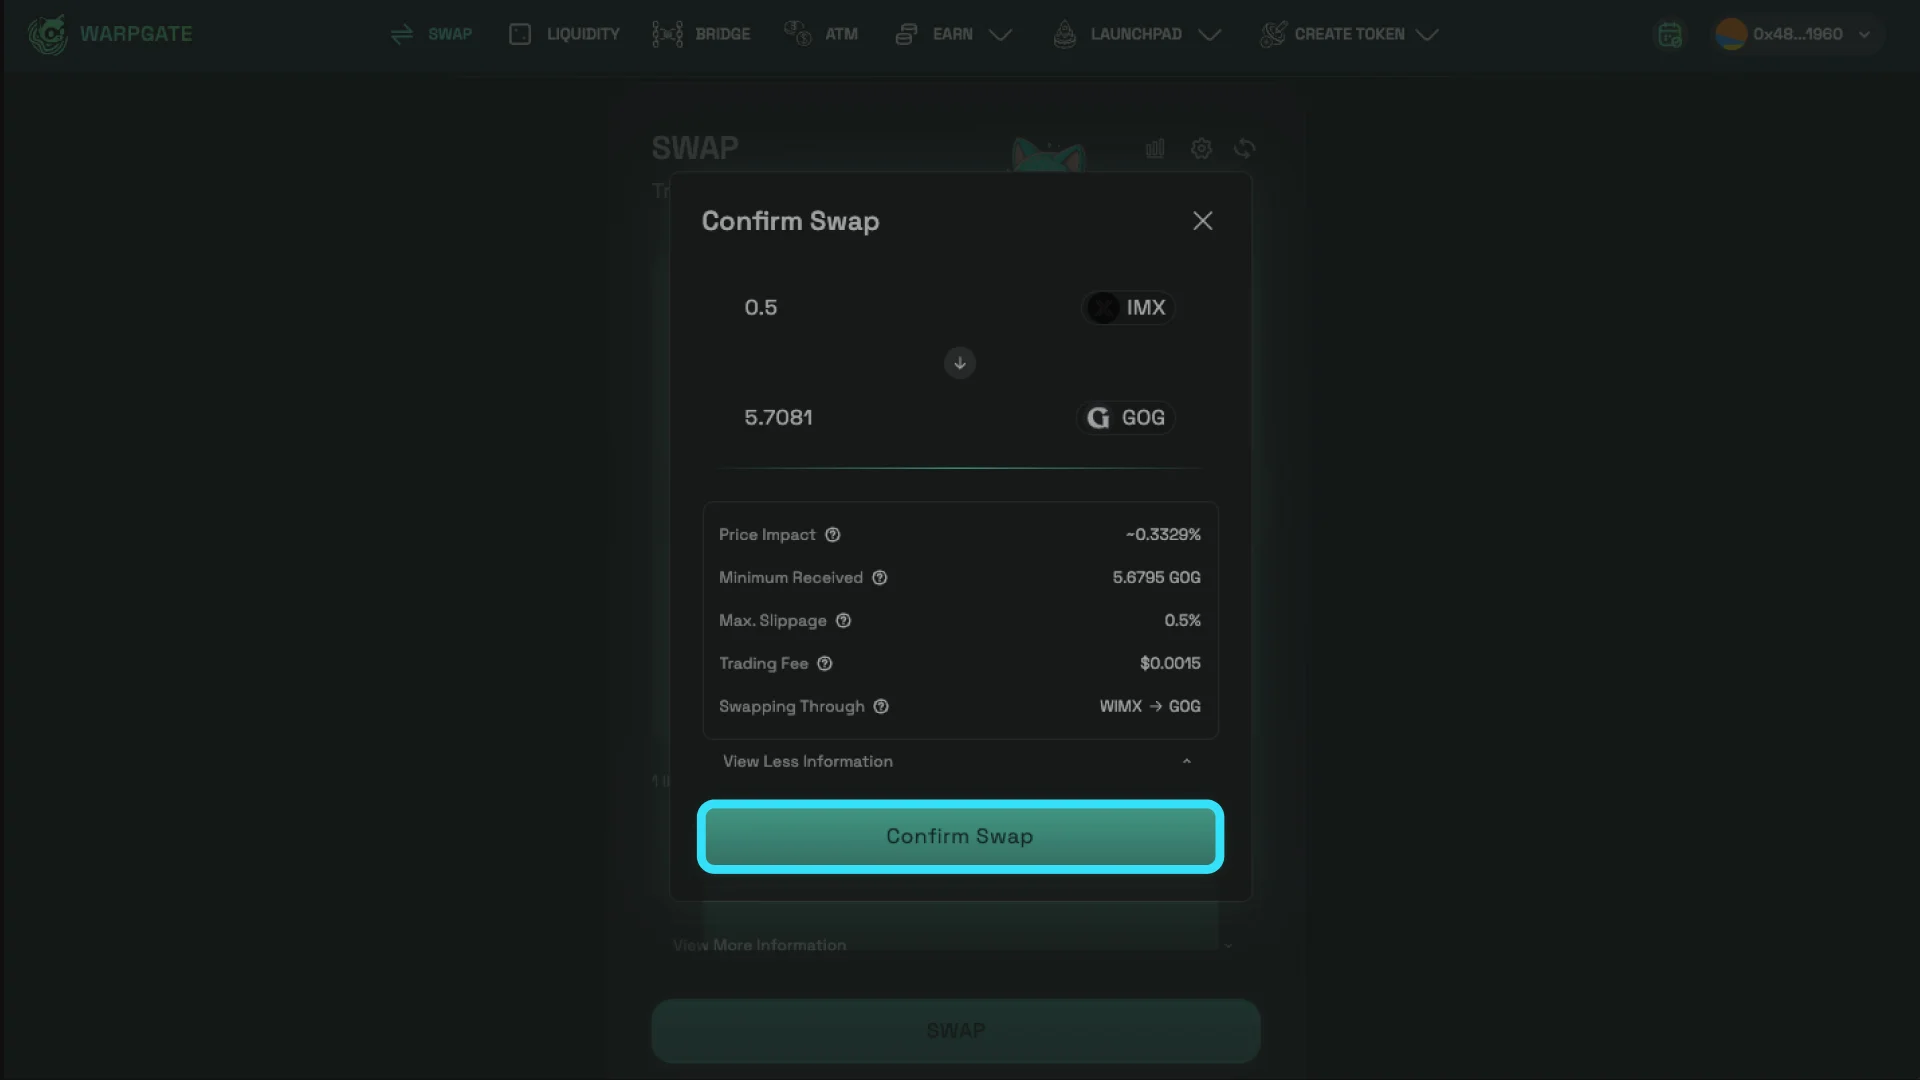
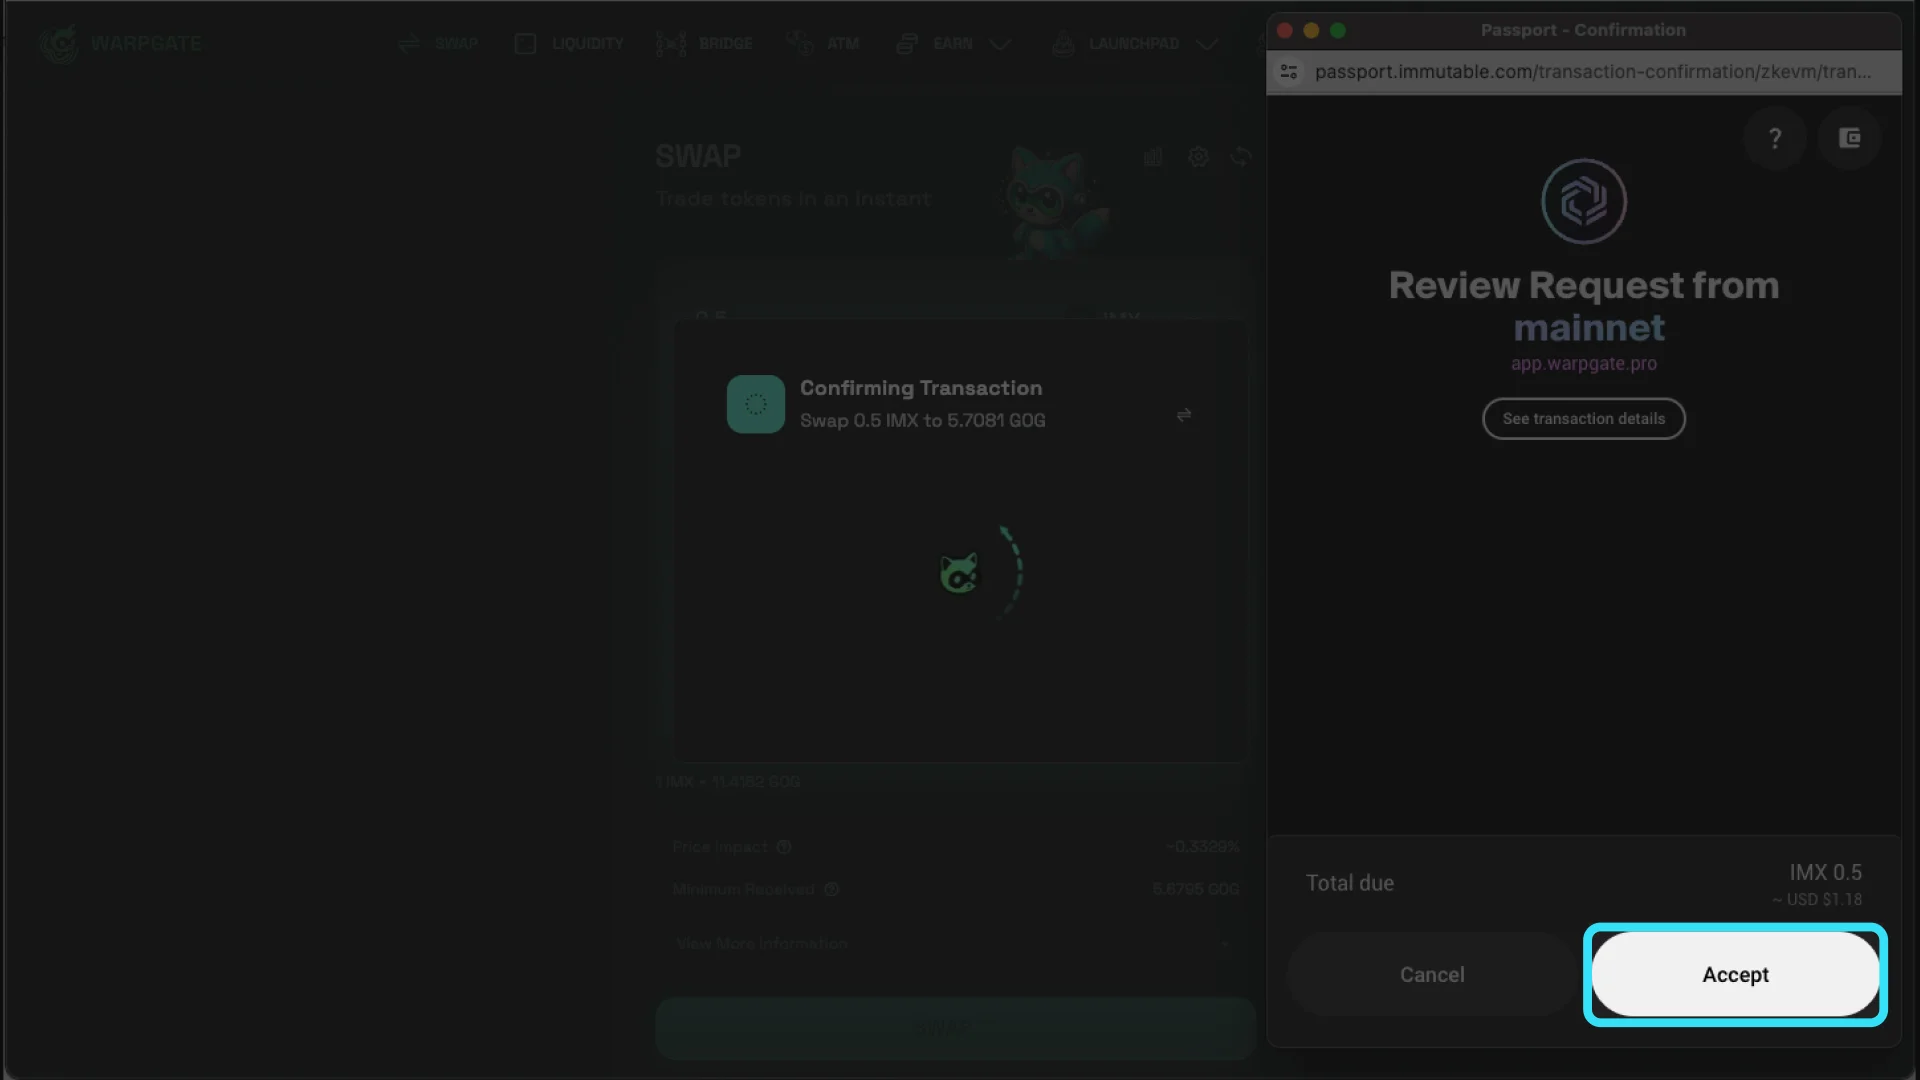
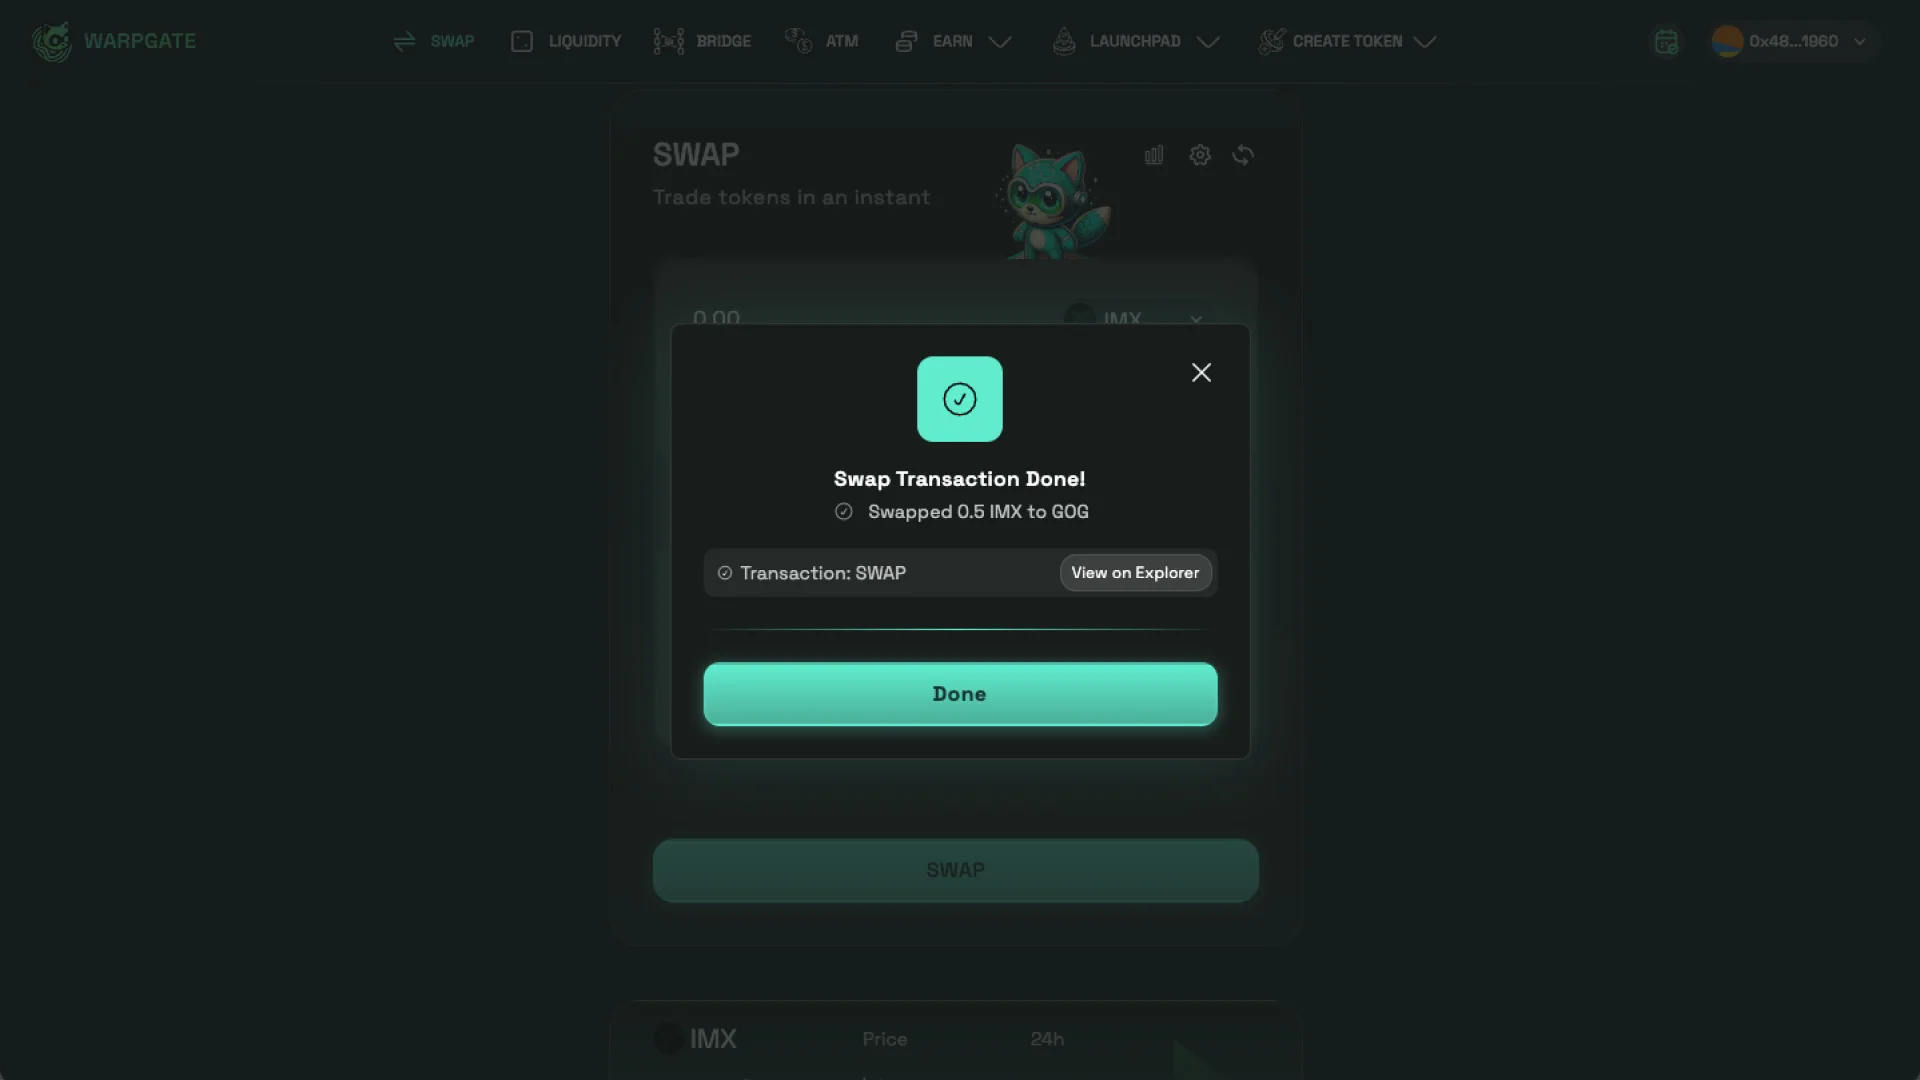
Option 2: Swap USDC, ETH or IMX for GOG using Warpgate
Step 1:

Step 2:
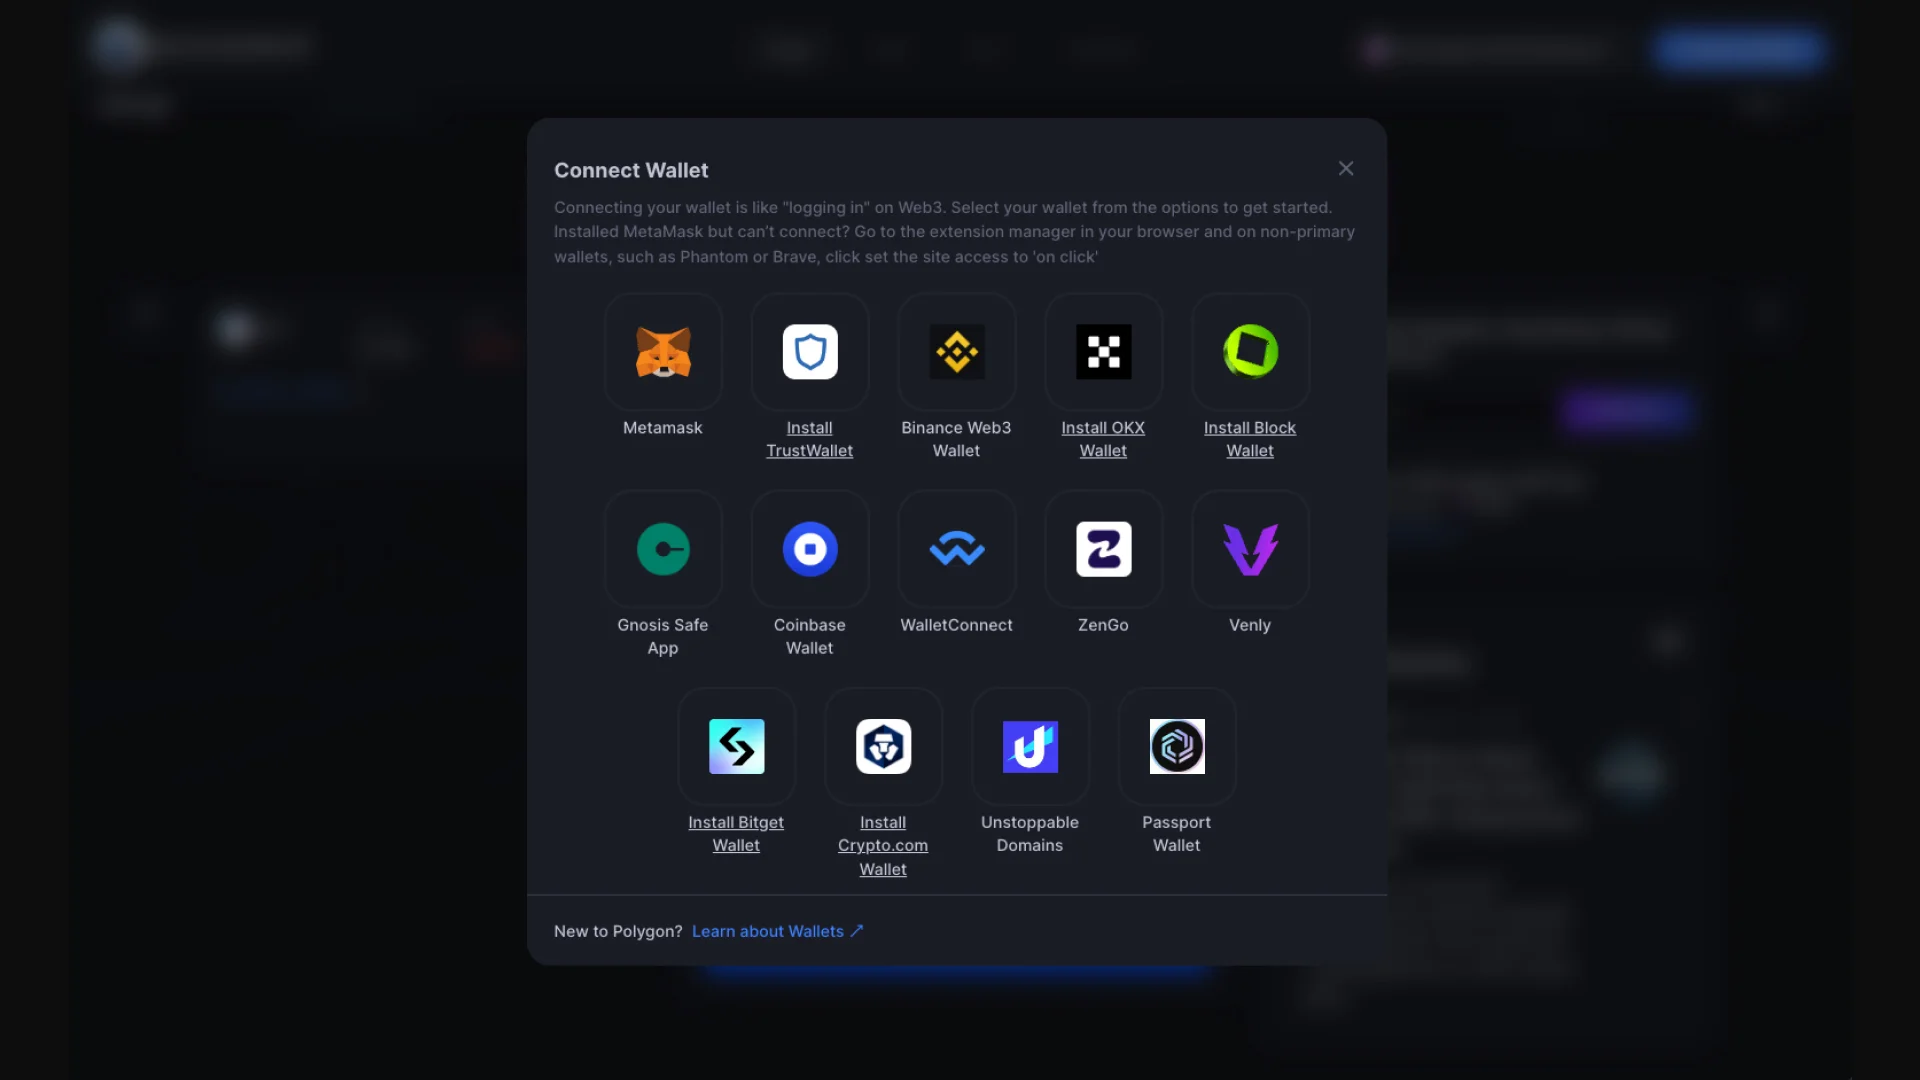
- Connect your Immutable Passport wallet
Step 3:
- Select which token, ETH, USDC or IMX, that you would like to swap from
- Select $GOG as the token you receive
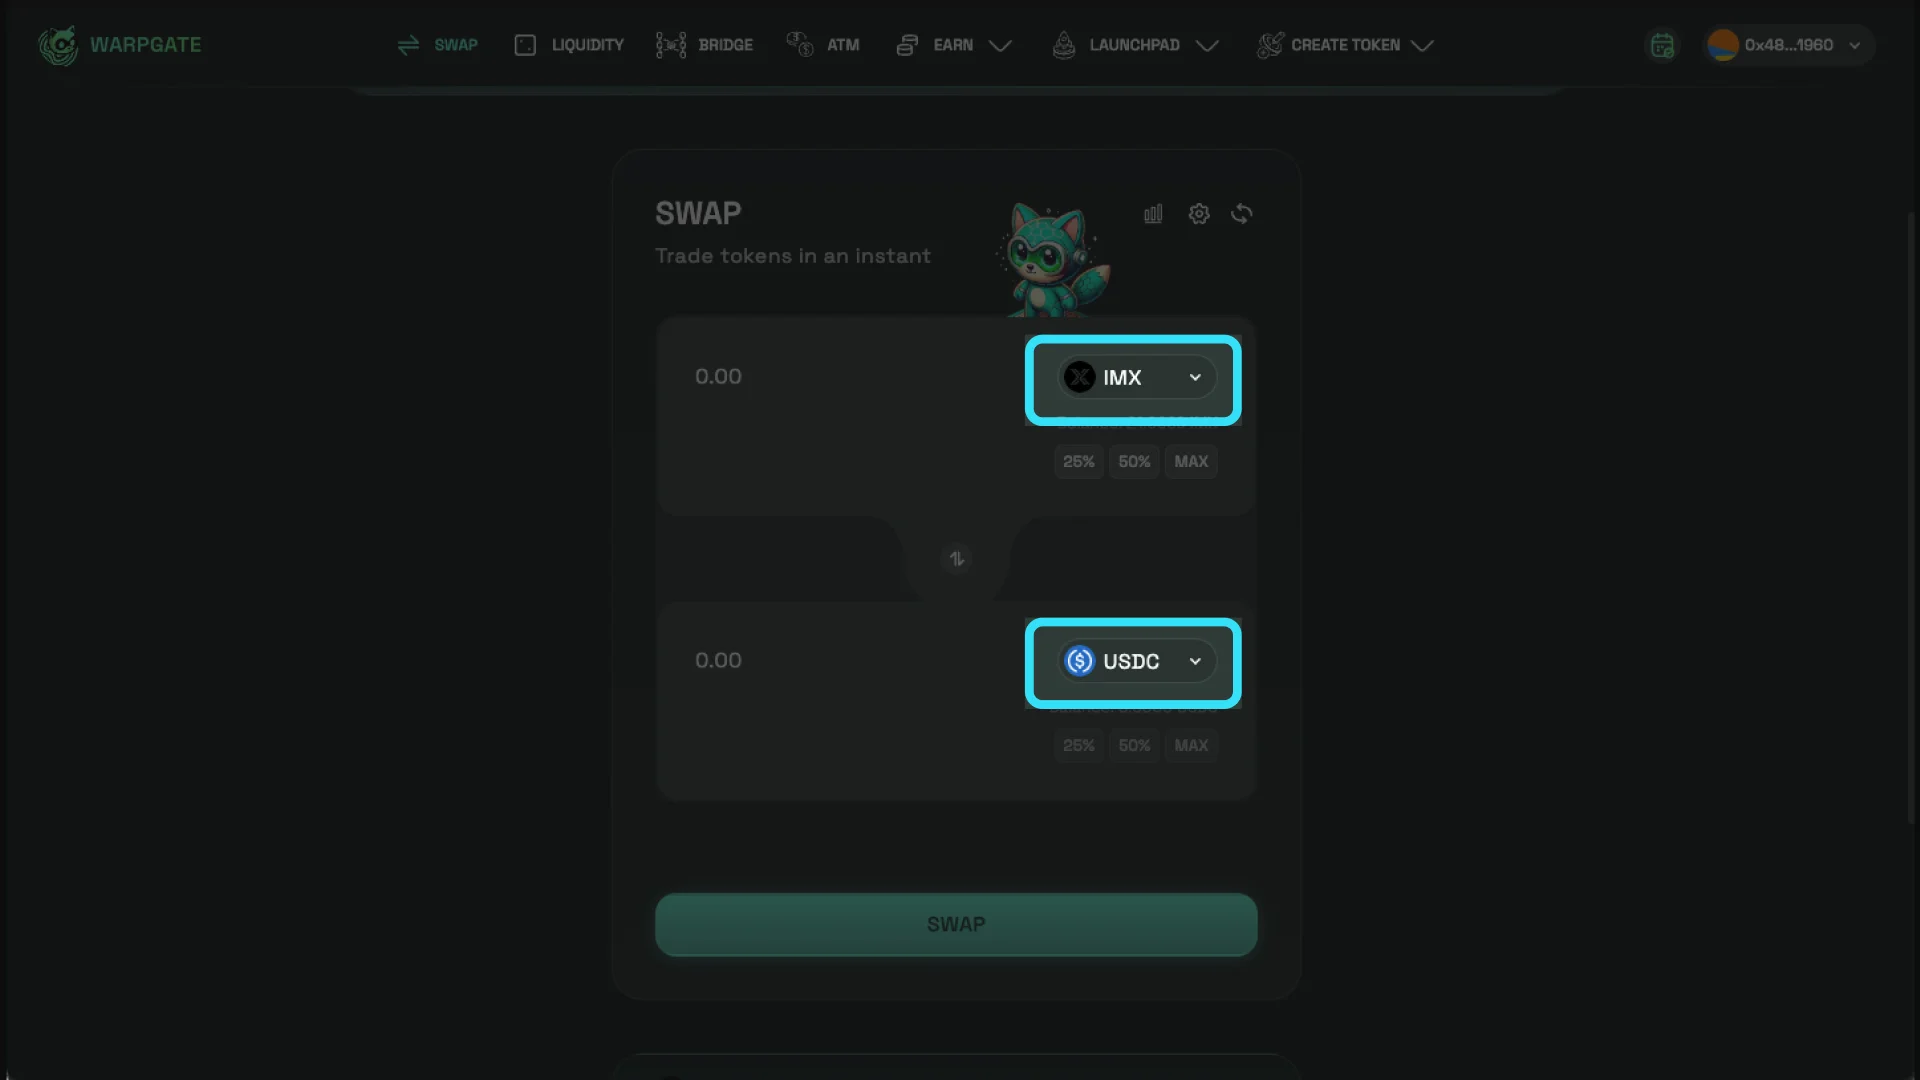
Step 4:
- Enter the amount you want to swap and click swap
Step 5:
- Sign the transaction in your wallet
Congratulations! You now have $GOG in your Immutable Passport
Option 3: Swap USDC, ETH or IMX for GOG using Quickswap
Option 2 is similar to Option 1 but instead of doing the swap on warpgate you will do it on Quickswap
Step 1:
Step 2:
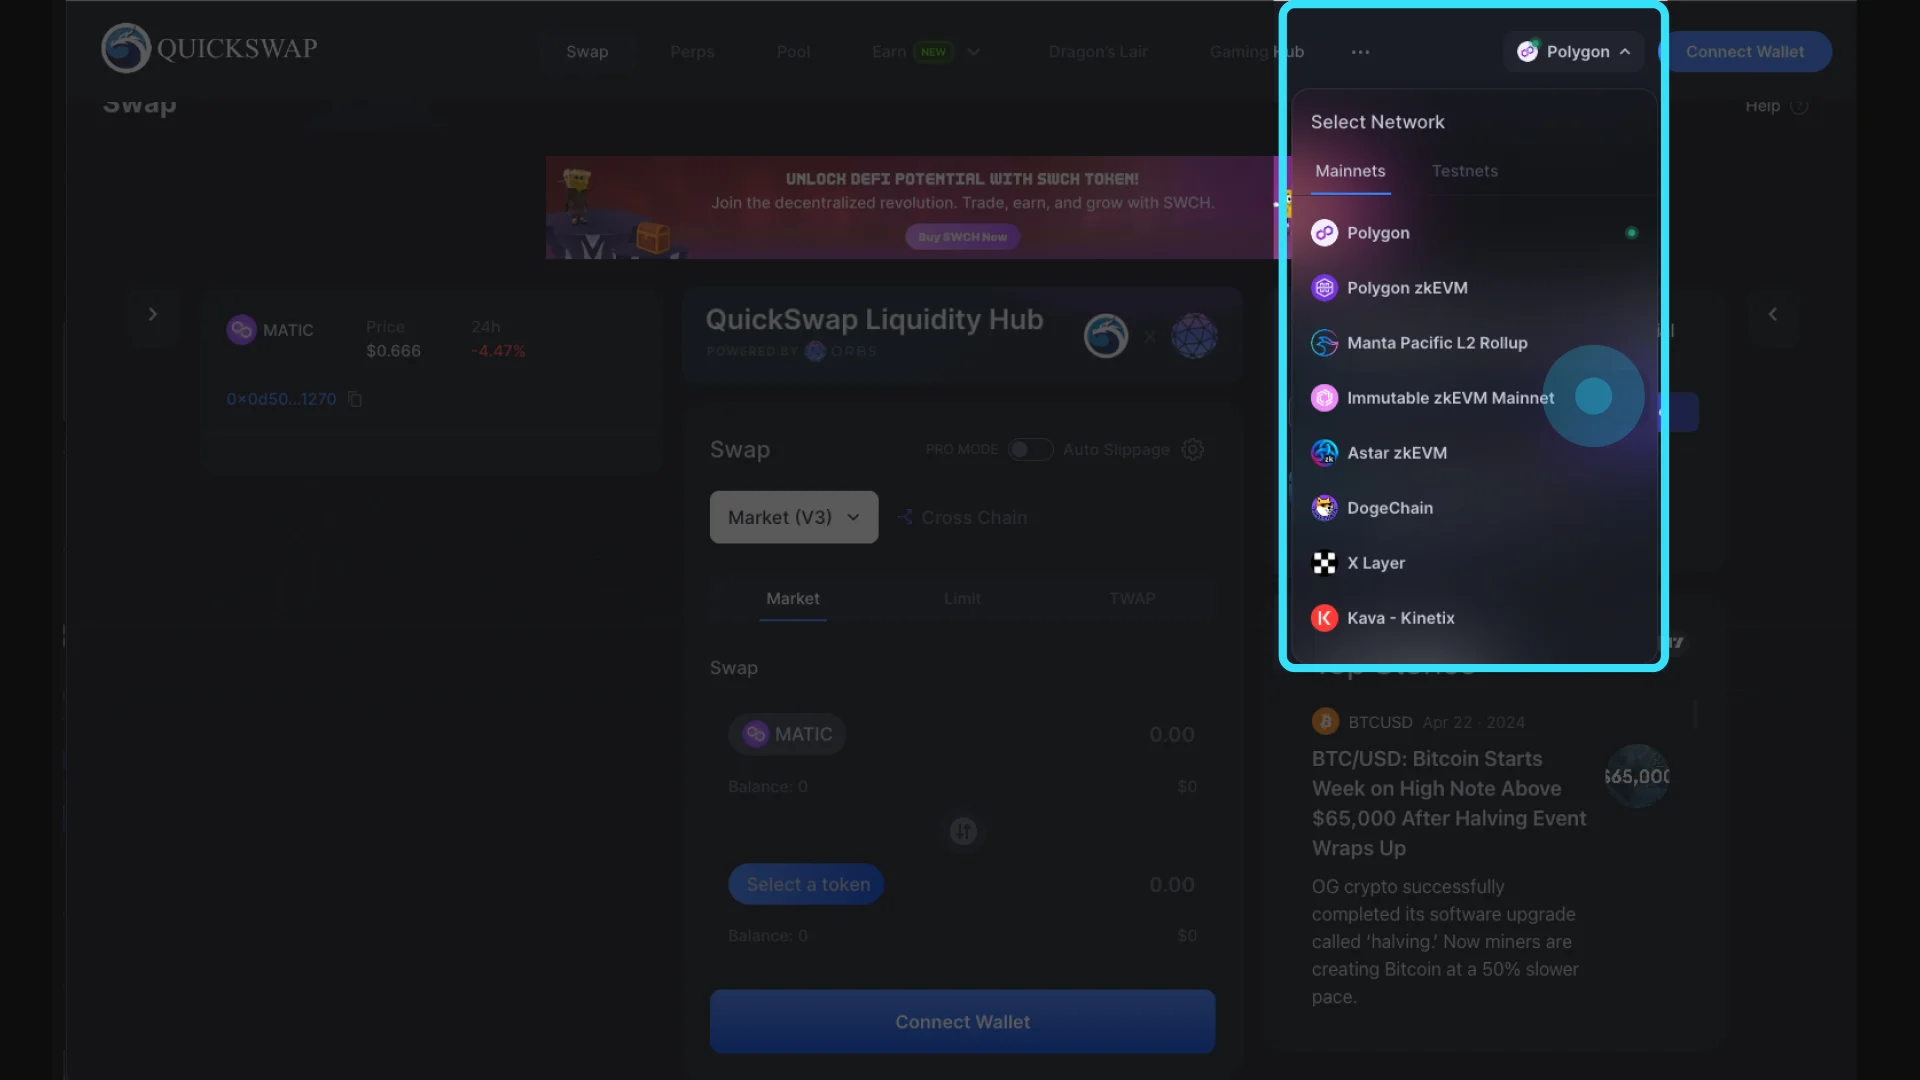
- Change the network in the upper right corner to “Immutable zkEVM Mainnet” and Connect your Immutable Passport
Step 3:
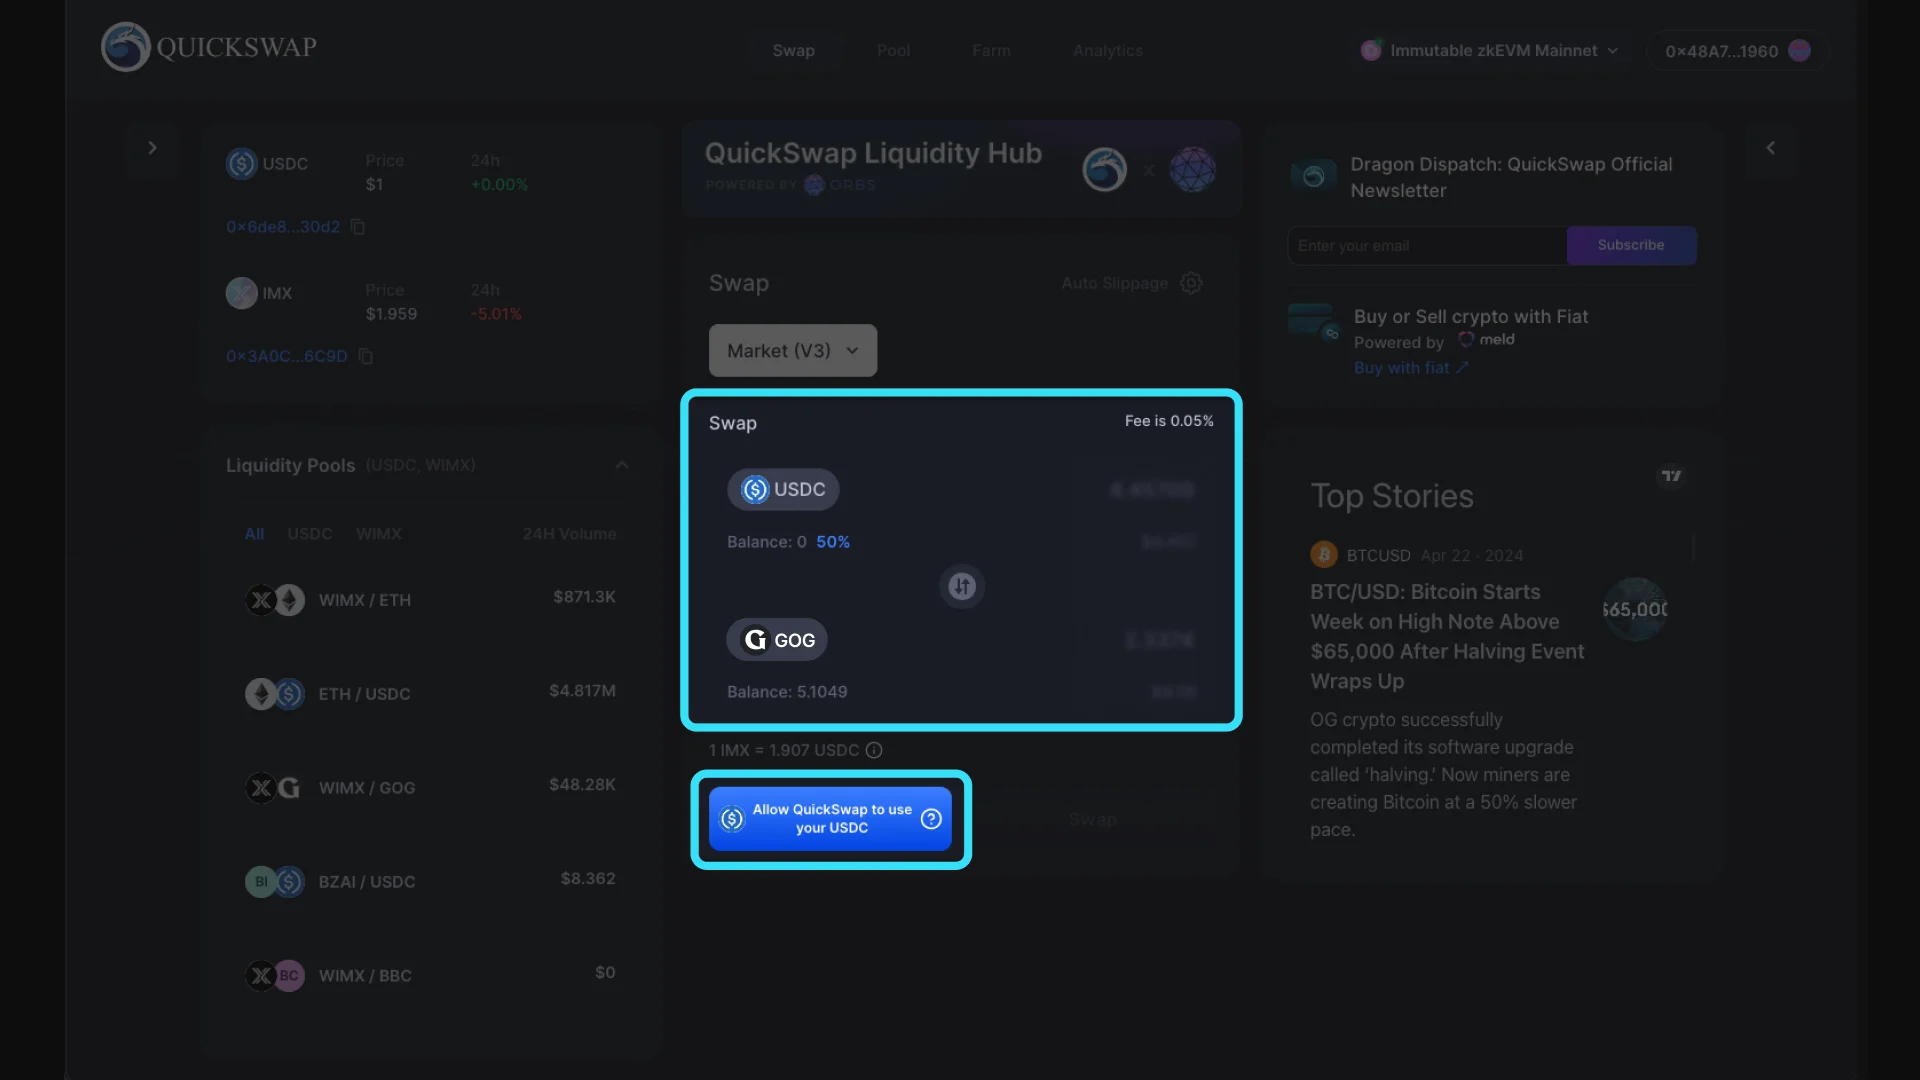
- Select which token, ETH, USDC or IMX, that you would like to swap from
- Select $GOG as the token you receive
Step 4:
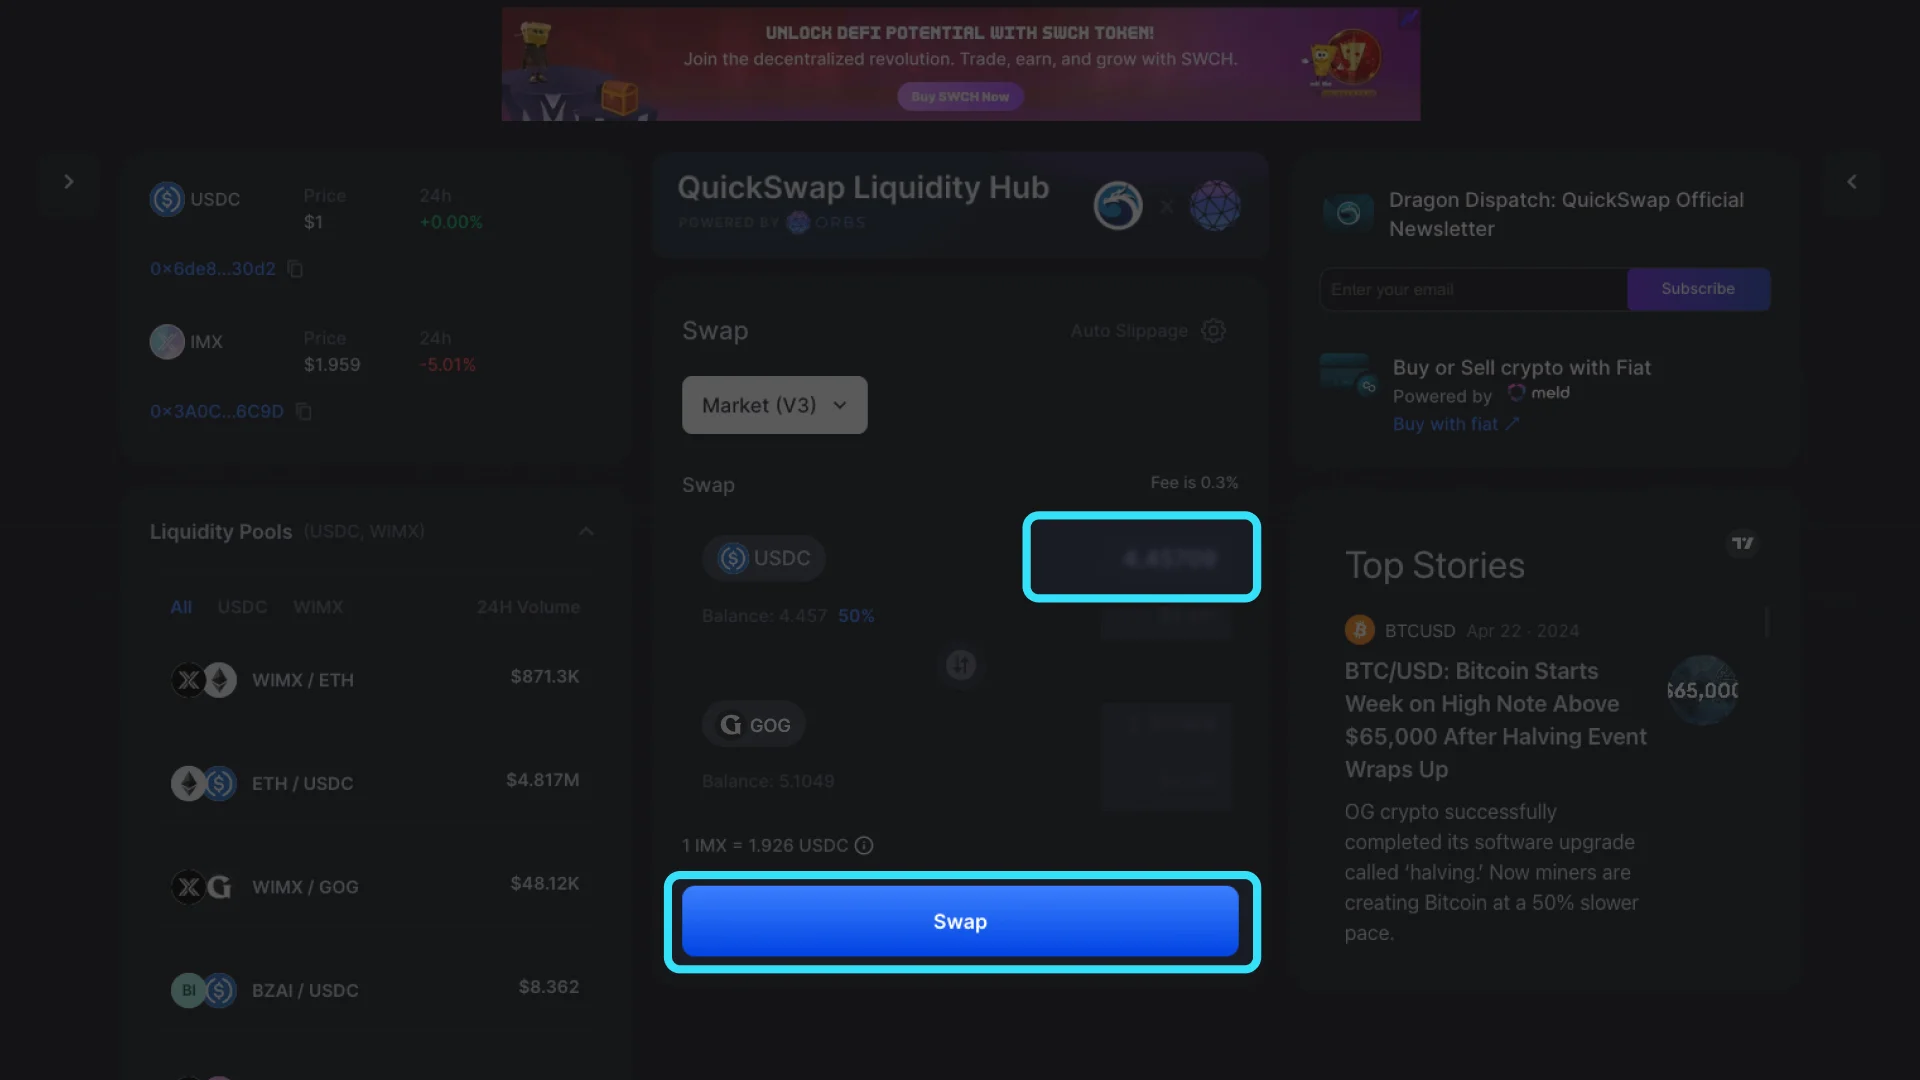
- Enter the amount you want to swap and click swap
Step 5:
- Sign the transaction in your wallet
Congratulations! You now have $GOG in your Immutable Passport
Option 4: Use Layerswap in Immutable Toolkit to move GOG from a Centralised Exchange to your Immutable Passport
This option is currently being worked on by the Immutable team and should be available in the very near future.